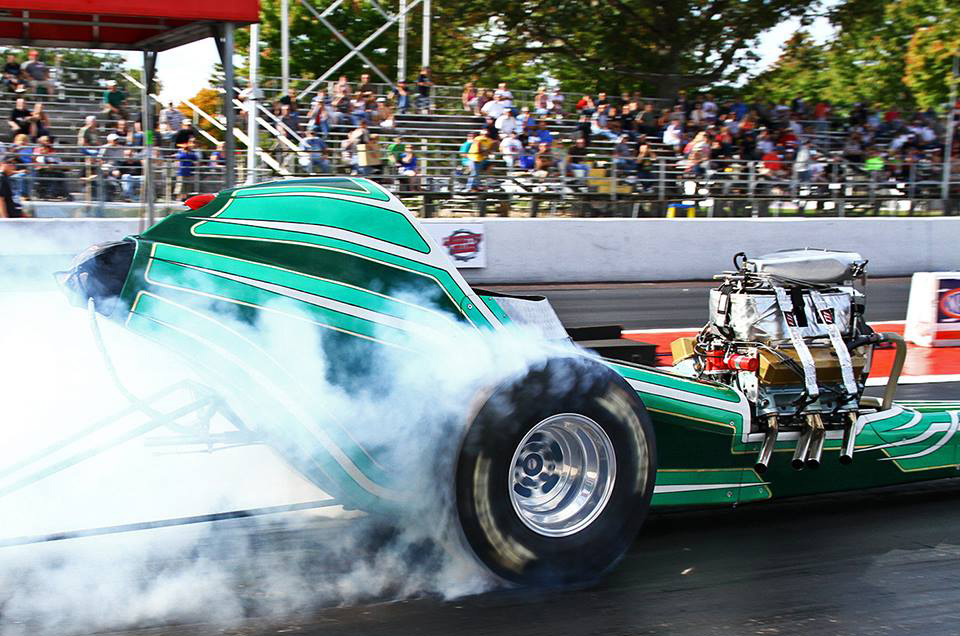
1949 Chevrolet Gasser – Progress 2015 11 20 & 11 28
Click the picture to see additional images on the topic
Ok, it has been way too long, the Gasser’s time has come.
I see this as at least a year and one half project to get this vehicle to the track.
We have reunited the Car Nuts Gang and once again started to work on a project. This is actually a good project to get the Car Nuts back together as it was the last project we worked on before the gatherings of the Car Nuts ceased back on 12/08/2012. At that time, we cut the firewall to be able to put the mock-up engine in the chassis and put the body on the chassis. This was done so the vehicle could be put into the trailer for storage.
The second meeting of the Car Nuts on 11/28/2015 was well attended by Anne Lever, Arthur Lever, Bill Gagnier, Bob Way, Chuck Bonsignore, Frank Serafine, George Lever, Jim Boehly, Ken Long, Tom Derleth, Tom Deyle
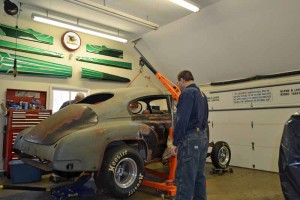 |
11/13/2015, my son George and I picked the body back off the chassis so that work could start once again on the Gasser. |
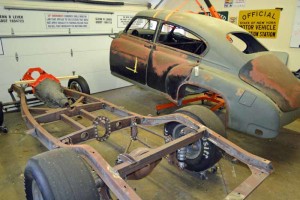 |
We put the chassis on a dolly (not pictured here) so that we could get full access to the mock up engine. This was done so that I could return the Mock Up engine back to it’s owner. Steve has deserted western New York for the warmer climate of Arizona. |
| Coincidently, I had put out an E-mail asking anyone if they knew of a 454 Engine that was for sale.
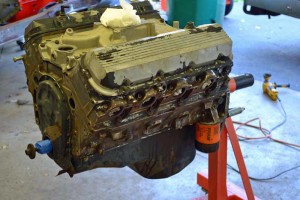
Ken Long (great locater of hard to find items) found a listing on Craig’s List on a Gen V 454 with 55,000 miles on it out of a RV. This is a four bolt main engine that will make a great building block for the Gasser’s engine. We will not do to it what was done to the engine in the dragster. We will be looking for 8 seconds or less in the 1/8 mile for Gasser racing. It was originally a throttle body engine which had the throttle body removed and a Edelbrock Torker II intake, a 650 CFM Carburetor, and a Chines MSD look alike distributor on it. Future projects include a new/ used intake, a 750 carburetor (used one has already been purchased, and a MSD 6AL-2 ignition system The Crew Chief of Lever Family Racing will now become a driver and I will be her Crew Chief Frank Serafine and I went out and took a look at it. We did a compression test and checked the oil pressure. After a little haggling we brought it home. This was one week and a day ago. The follow day we had the first regathering of the Car nuts and we removed the intake, valve covers, time chain cover and the oil pan. We were very pleasantly surprised to find that the inside of the engine was very clean The next couple of pictures were taken with my phone camera (sorry for the quality) |
|
 |
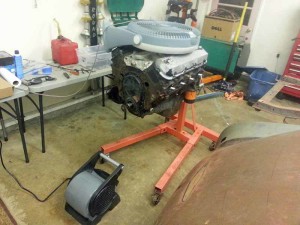
First step was to wash all the outside of the engine and try to get it to look as nice as the inside of the engine.
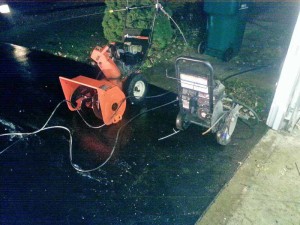
Out came the power washer. I always seems like I am using this thing in weather that I am afraid that it will freeze in (read that as it was cold). In this case it was also in the dark (the snow blower was just in the way so it was moved outside) |
 |
Now we have to get it dry. |
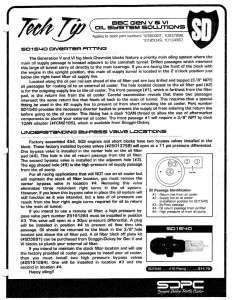 |
This is a gen V engine which came equipped with an external oil cooler. In the Gasser I will not be running an external oil cooler. There are many write ups on what to do with Gen V engine that will not be run with the external oil cooler. This is the best one I found |
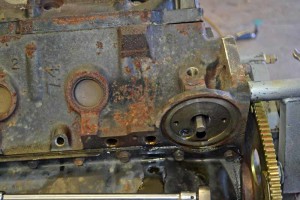 |
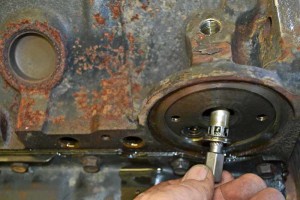
So I removed the threaded coupling in the oil filer adapter with a large Allen wrench. I remove the plug directly above the oil filer adapter and used a screw driver to pry down the relief valve. I move maybe an 1/8 of an inch but it did free it up.
The I used an easy out an screwed it up into the relief valve. |
 |
I was then able to pull it out. |
 |
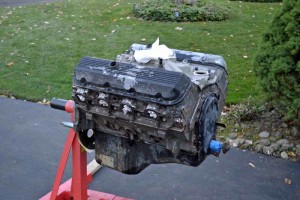
I was then able to move on to grinding the sharp edges of the block. I used bolts to block off the spark plug holes. I reinstalled the valve covers, intake, timing chain cover, and oil pan.
I taped off every opening to avoid getting anything into the engine. |
 |
Moved the engine outside. |
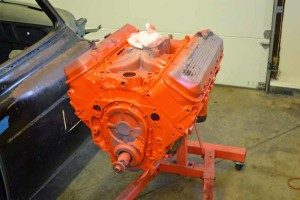 |
I then sprayed the block (and everything else) with several coats of primer, several coats of Chevrolet Orange, and finally two fat coats of clear.
It was them moved inside to cure. |
 |
Valve covers, intake, timing chain cover, and oil pan were all removed again. The intake was powder coated with “Eastwood Detail Light Gray” and then clear.
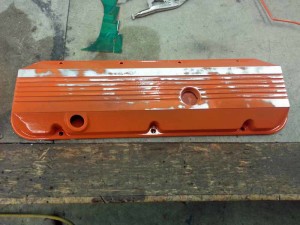
The valve covers, timing chain cover, and oil pan were powder coated with MoPar Orange (I ran out of Chevrolet Orange. I then ground off the powder on the high points of the ribs on the valve covers, and then cleared all the pieces |
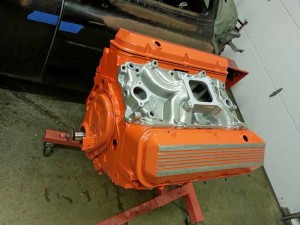 |
This was the end result |
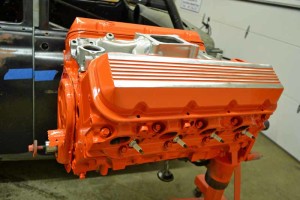 |
Here is a slightly different view. There is a difference in the color oranges but it is hard to see it. The tops of the ribs on the valve covers came out pretty nice. |
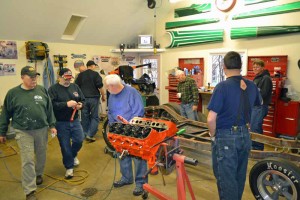 |
As mentioned above, we had a great turn out of the Car Nuts. We generally meet Saturday Mornings 9: AM to Noon, although we did run a little long today. The reward was worth it though , read on. |
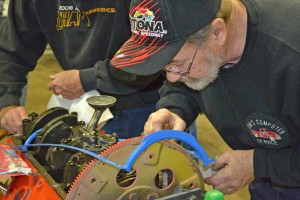 |
The concentration of the Car Nuts on critical tasks cannot be beaten by any other team. |
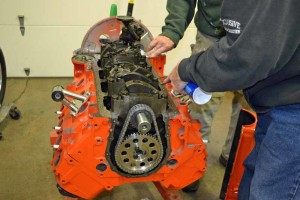 |
The new timing chain was installed, the only weak point we found in our examination of the engine was the timing chain had some slack in it, so it was replaced.
ARP 12 point stainless steel complete bolt set was purchased. The exhaust bolts were for headers and did not fit the exhaust manifolds |
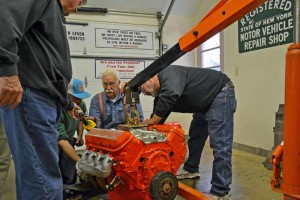 |
The transmission was bolted up, with no torque converter (the transmission will have to be sent out to be rebuilt) |
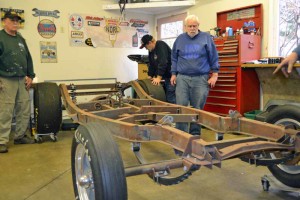 |
Time to fill the chassis with something a little more substantial that the Blue Flame six cylinder that was there when we purchased the 49 |
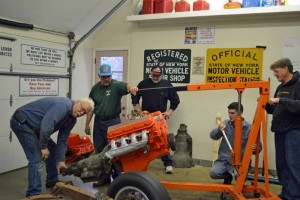 |
Chassis I promise, it is coming, hold on. |
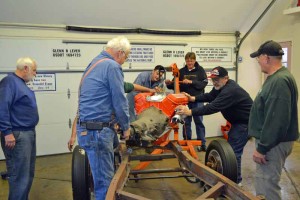 |
Getting there. |
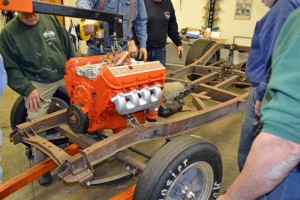 |
Look at that, looks like it belongs there. Fits nicely between the rails. |
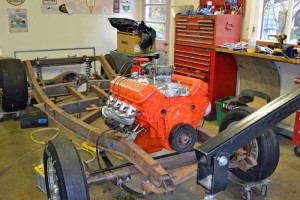 |
We put the carburetor on, the distributor in, mounted the stock starter, and connected up a battery. |
https://youtu.be/KCEeuIupoZw |
Added a little gas and it pretty much fired right up. Click on the link to see a short video. It includes flames out the exhaust Manifolds. |
