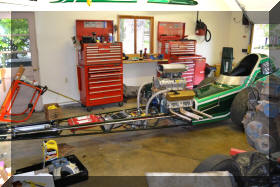
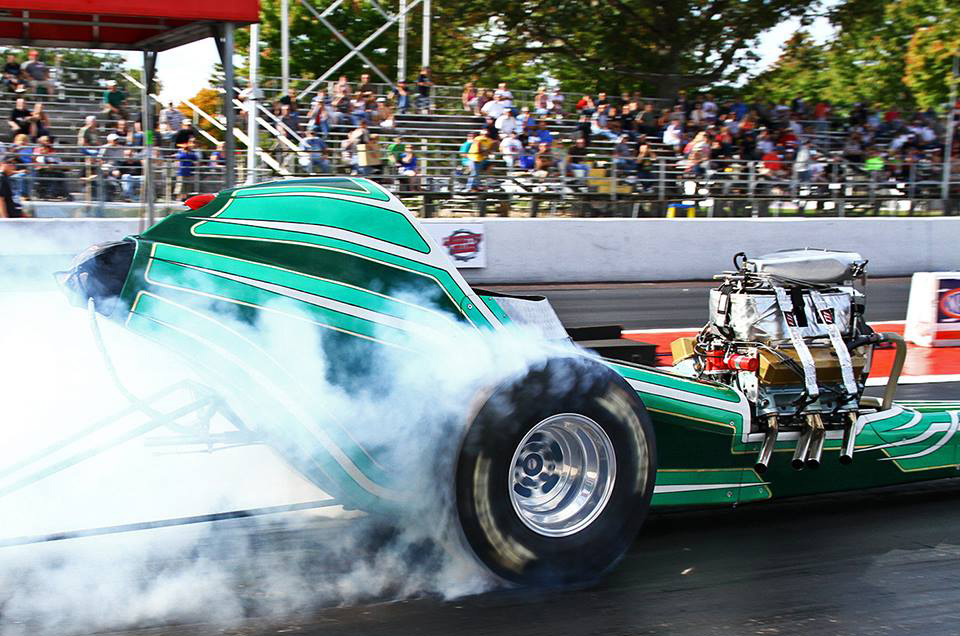
2010 Front Engine Dragster Week 2012 10 13
REMEMBER TO CLICK PICTURES FOR MORE DETAIL / LARGER PICTURE
Well, the Winter Car Nuts Projects have started!
They have not started without their problems.
We canceled last week as we just were not ready to accept that summer was over and was really hoping to get one more weekend of racing in.
That Sunday looked terrible (COLD) so we did not go to that track and it was canceled in mid event due to rain.
This Sunday is supposed to be warm, near 70, but it also looks like rain.
So it was decided to take the dragster apart in preparation for this winter’s project (Put a blower on to get to the coveted 8.5 index for NDRL racing).
I was over to pick the trailer up bright an early at 6:30 AM for the scheduled 8:30 start of the Car Nuts, only to find that the storage facility had sealed the parking lot and parked a van across the entrance . They did not open their office to 10:00 AM. I called all Car Nuts that had indicated that they would be here (this is a good example of why I always ask that you let me know that you are coming) and delayed the meeting start time.
10:00 AM rolled around and I was over again at the storage facility. Turns out they had sealed two days ago and it was ok to drive over the parking lot. I call all active Car Nuts and we met at my house.
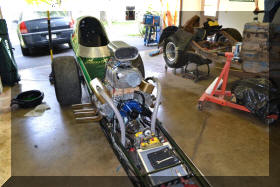
We got the dragster out of the trailer and up into the garage. Drained the water out of the block and replaced it with antifreeze, and cycled the cooling system to get antifreeze into the radiator.
Now the fun starts!
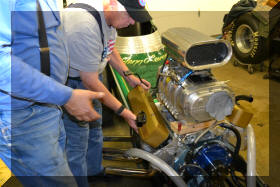
First the old intake was removed, to remove the intake the valve covers had to be removed.
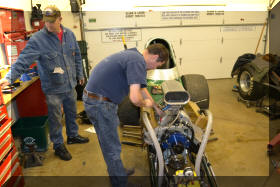
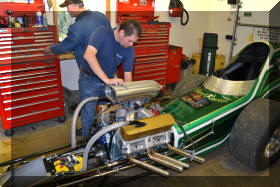
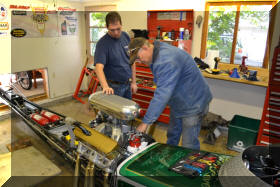
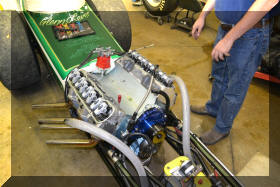
The BDS blower intake was put in place, first modification needed cam to light, and the bolt holes will need to be enlarged as the heads have been mild and the bolt holes do not quite line up.
The second problem popped right up with the stock timing chain/water pump housing and the ti=o the intake. I know that there has to be a small hole in the top of the water pump housing otherwise it will trap air in it and not pump water. I will have to do more research as others must have faced this problem before, but I can always run a small line from it to the water jacket. It also appears there is not enough room to put the top outlet in place.
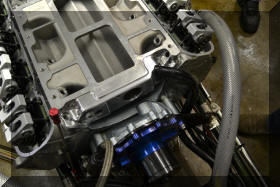
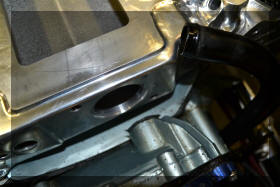
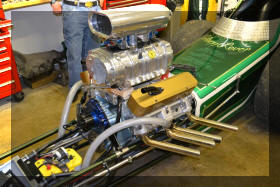
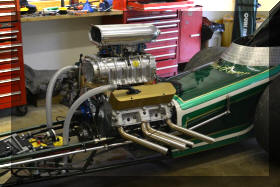
The 8-71 blower was set in place and the next problem popped up. The blower is a Littlefield blower. Littlefield mad to 8-71 blowers, one that put all the additional length to the rear and the second split the additional length between the front and rear. Mine appears to be all to the rear, which made the snout purchase easy as the front has the dimensions of a 6-71, However the side effect of that is the blower does not clear the distributor.
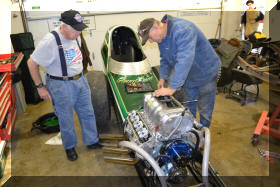
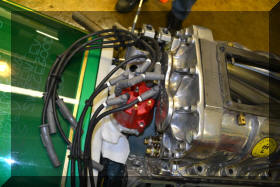
Well there are spacers which lift the blower up (2”, 3” and 4”). So up the blower went. We spaced it up 4” and there was lots of room, we cam down to 3” and there was still lots of room.
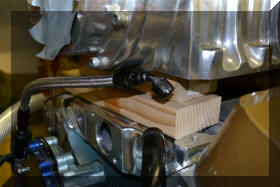
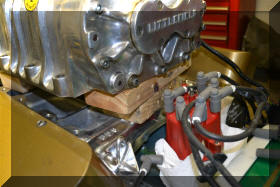
We came down to 1 ¾ inches (the thickness of a two by four) and it just fits.
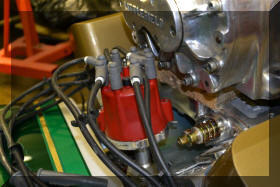
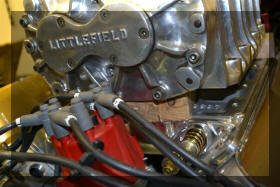
So, we have discovered that raising the blower will solve four problems, 1) distributor clearance, 2) water connection clearance,3) burst panel location can now be in the front, and 4) the water conduit in the intake does not have to be cut off. So the height of the spacer will be determined by how much height I need to put a burst panel on the front side of the engine.
We had to put the valve covers back on to see what it will look like.
