1997 American Dream 2016 08 02
Click picture to see larger one
This project is quite large with a lot of pictures so I am going to break it into several parts.
I have rebuilt the burner on the cooling unit for the refrigerator. That project was posted earlier and you can find it above.
It has work perfect for a number of years, on the setting of 2 the refrigerator temperature has been 45 degrees and the freezer has been 0. I have heard many complaints about these RV refrigerators, but once the burner was set I have had no complaints. I have never had a reason to run it on A/C, an in fact do not even know if it works that way. Propane has work great.
At my race at Norwalk in the third day of 90 + heat the refrigerator portion stopped working, the freezer continued to work (this is a Dometic Elite RM 7732 side by side).
Through some coursing we actually got it to work for most of the Gold Cup race but it gave up again in the second day.
So…I ordered a new replacement cooling unit from JC Refrigeration http://www.jc-refrigeration.com/ I was instantly attracted to their site as their home page pictures an American Tradition motor home (we have an American Dream).
They offer to install their unit on an appointment basis for Four Hundred dollars. They have a concert pad for overnights. I considered that a good deal, but the travel distance and time was too much.
I’m now into my third day of this project. They rated the Dometic Elite RM 7732 install an 8 on a scale of 10. There is a video on the job of removal and installing the RM7732 on YouTube
https://www.youtube.com/watch?v=FanWzJ3AWYo
Some preliminary steps
- Shut off your propane at the tank. I have a propane sensor in the motor home and by shutting that off, it also shuts off the solenoid valve at the propane tank.
- VERY IMPORTANT: you want to level the level the motor home. This is important as you will need to make sure the cooling coils in the new unit are level. It is a requirement of the warranty of the coiling system I purchased
- If you can connect to shore power you should consider it as, if it is hot, you will want to run the A/C to be cool. The job of swapping the cooling system will be done in the motor home. In my case, there was no shore power available so I ran the generator for lights and A/C.
- Tools: Cordless Drill with attachments (drill bits, phillips screw driver, straight screw driver, sockets), Level, Box Knife, Heat Conductive Thermal mastic, Caulking Gun, two Adjustable Wrenches, Black Electrical Tape, Block of Wood, Putty Knife, Needle Noose Pliers, Needle Noose Vise Grips, Wire Cutters, Phillis and Straight Screwdrivers
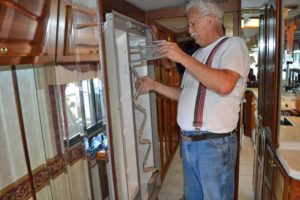
- I was lucky to have two different helpers; you will need at least one to get the unit out of the cabinet and to lay it down on the floor of the motor home without damage to the cabinet and the motor home.
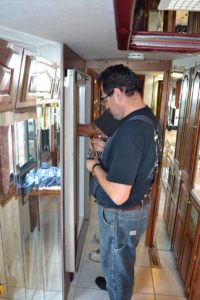
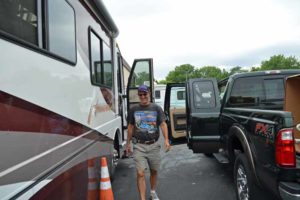
To help me, I had my son George and a good friend Steven Walczak
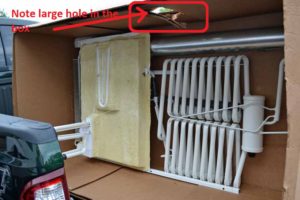 The new unit was shipped to a UPS Freight Terminal as UPS will not deliver this large of a box to your door. Be sure to inspect the unit by opening the box before leaving the Freight Station. There was a large hole punched into the side of my box (you can see it on the top side) Whatever punched the hole went above all the coils and did no damage.
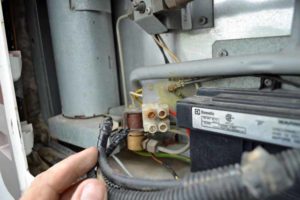
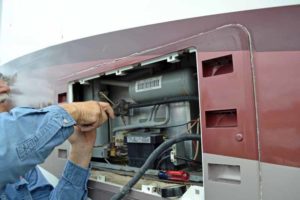
First thing I did was to unplug the 110 A/V for the electric heaters in the boiler for the ammonia. Disconnect the 12 volt feed to the refrigerator and tape the ends up so you do not short them out. Make sure you remember which is hot (+) and neutral, the best way I know of doing this is to take lots of pictures. I took over 300 pictures on the projects to insure I had good coverage. Digital pictures do not cost you a dime and can save a lot of head scratching.
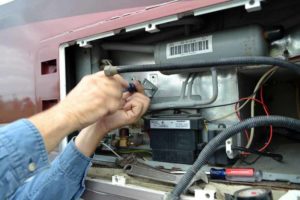
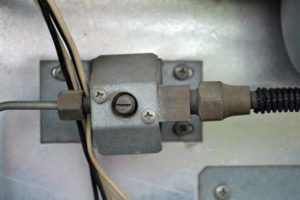 Next thing was to remove the gas valve. When disconnecting the pipes into and out of the valve, be sure to use one wrench on the valve and one wrench on the line nut so as not to put any strain on the shut off valve. Then remove the screws holding the valve to back of the refrigerator.
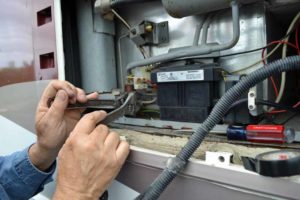 I also elected to remove the line from the shut off valve to the burner at this point. You could wait and do this inside once the refrigerator has been removed from the cabinet.
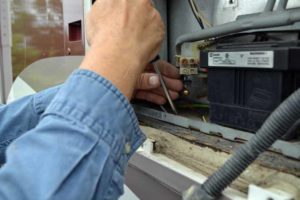 On my unit, there were mounting screws in the base of the unit going into the platform where the refrigerator sits. I do not believe this is standard as I have come to believe this unit has been out of the cabinet before. I found evidence of this as I progressed through the removal of the unit.
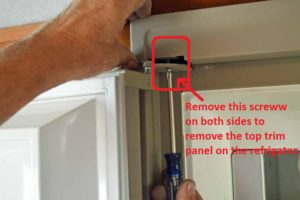
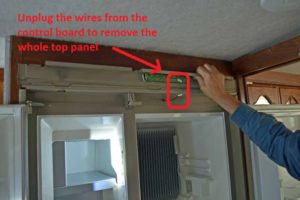
Time to go inside, to remove the top panel with the control panel in it there are two screws located up through holes in the hinges, remove those two screws and the top panel will move out of the way. I elected to unplug the wires leading to the control unit so the panel could be completely removed from the unit to avoid damage to the control circuit board.
A good idea is to use one of the crisper bins as a hardware holder as there will be quite a bit of hardware.
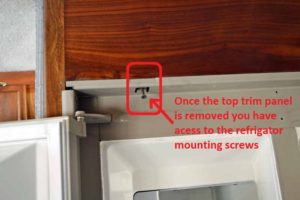 Once the top trim panel is removed, you can access the two top refrigerator mounting screws. They are common drywall screws.
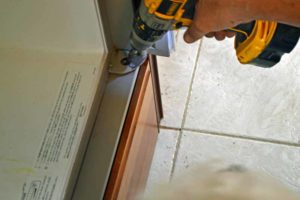 The bottom trim is held in by the lower refrigerator mounting screws which you can remove through a hole in the lower hinge
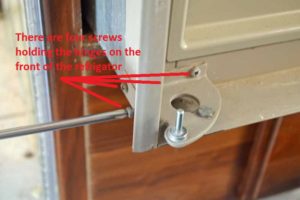
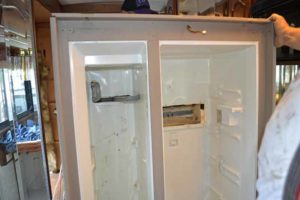
I elected to remove the doors and hinges from the front of the refrigerator. This actually was a good move as I laid this thing down and picked it up a number of times for test fitting of the new cooling unit. It also removed a lot of weight as my front doors have solid wood panels. It created a completely flat face to set the refrigerator down on the floor so no scratching took place.
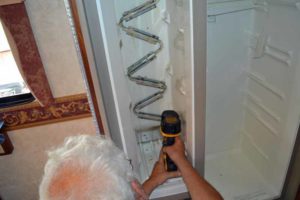
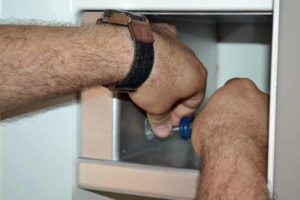 Next step is to remove the screws that hold the freezer box in place. There are two screws that hold the side/ top panel in place. There are six screws the hold the secondary cooling coil to the primary cooling unit. Those screws also need to be removed
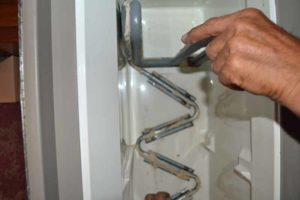 We then made our first mistake which added to the time needed to complete the job. We removed the secondary cooling coil and in the process unscrewed all the attaching plates. YOU DO NOT NEED TO DO THIS. It is not necessary to remove this secondary cooling unit and if you wish to it can be done in one piece. It did help to have it out to do the test fitting on the new cooling unit.
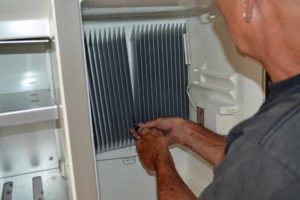 The fins in the refrigerator are held in by six screws between the fins, a long phillips screw driver is needed to remove them.
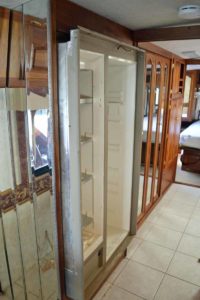
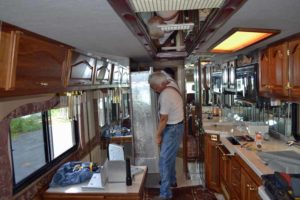
Time to work the unit out of the cabinet. It has to come almost straight out so it does not hang up on the insulation on the sides of the refrigerator. You have to work it back and forth a couple of inches at a time.
It is best to work from the bottom.
We also laid some padding on the floor to laid the refrigerator down on so as not to scratch anything. I did not bring anything with me and we did this in the storage yard 30 minutes from my home so we improvised and used the bed spread (do not tell my wife, I think we may have to buy a new one)
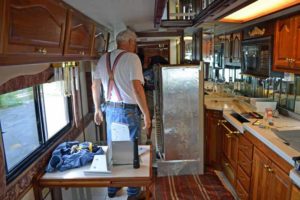 It really was not that heavy with the doors removed and no damage to the cabinet taking it out.
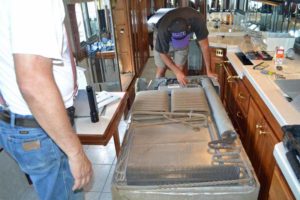
With the inside empty, it is time to lay it down on its face so that we can get at the old cooling unit.
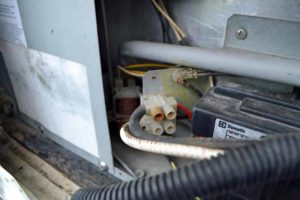
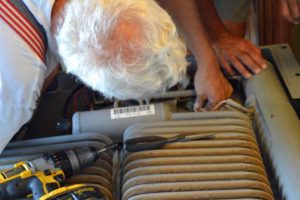
My unit has two electric heaters, they have to be unplugged before they can be removed. The connectors are not in the easiest spot to get to and we ended up unplugging the common leads from the control box rather than the external connection. We could not figure out how to get the plugs to release from the external extension for the control box. Take lots of pictures so you can get it back together correctly. Notice my full head of hair, I keep telling everyone I do not have a bold spot on my head.
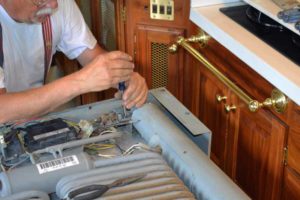 Next out is the Burner unit. This can be remove completely assembled by removing the three mounting screws.
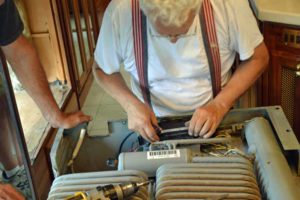 The control box. We removed the mounting screws and were able to lay the unit still connected to most of its wires over into the cavity on the right rear of the refrigerator. Remove the top screw, there are slots on the side to pry lightly to snap off the cover, This will revel two more mounting screws. TAKE PICTURES
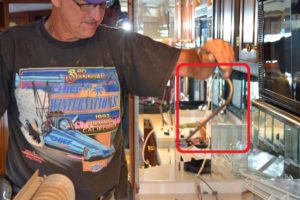
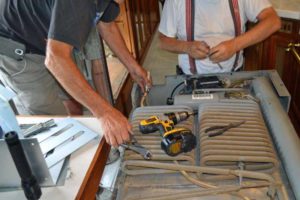 And now the refrigerator drain hose. This hose is routed up through the coils of the cooling unit and then through the back of the unit into the refrigerator to the drain to caught water when the unit defrosts. Be careful not to kink the hose, it must be removed as you pull the cooling unit up and off the back of the refrigerator box.
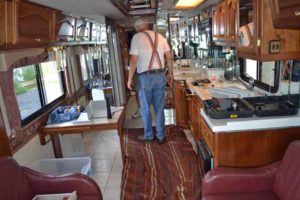
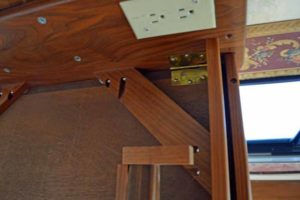 So, you might be asking yourself why we did not fold down the table so that we could walk around the unit (instead of crawling under the table every time we need to get around the unit). To my surprise it cannot be folded down. There were hinges, but there was a brace that was screwed across the bottom that did not allow it to fold down. A project for another day.
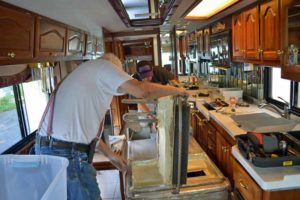 Unscrew the perimeter screws and pull the old unit up and off the back of the box. There are horror stories on how hard this can be and that you have to pry it up and off, but this one came off with no problems. Out problems came later as you will see. Keep the unit handy so you can compare things as you install the new unit.
This is a convenient spot to end part one, part two will show the install of the new cooling unit and a couple of modifications I made to make it fit better.
