1997 American Dream Web site page oil change
Click picture to see larger one
So I have decided to take the oil change maintenance out of the hands of RV service “professionals”. I have done lots of oil changes before but this is the first one on a vehicle this size.
First step was to gather information. So I posted a thread on doing my first oil change and received lots of good advice. The three suggestions that really stood out were 1) use a 6 point socket on the drain plug 2) get a Fumoto drain shut off valve so you can change containers 3) drain the filter before removing it (loosen it first) 4) use a strap oil filter wrench (I had forgotten I had on)
Next step was to read the manual
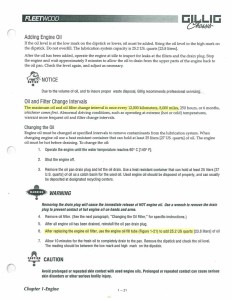 |
This is the page in the Gillig manual on changing the oil. Important points are Change every 8,000 miles, Operate engine until coolant temperature reaches 140 degrees, waste oil containers must hold 27 quarts, |
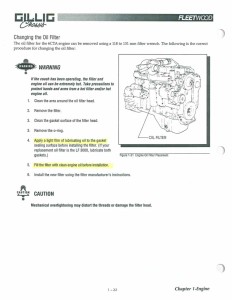 |
This is the page in the Gillig manual on changing the oil filter, the important points are Apply a light film of oil on the gasket surface, fill the filter with engine oil |
| A note on engine oil, the Gillig manual states to use Cummins Premium Blue (15W-40) turns out Cummins. Turns out Cummins endorses Valvoline Premium Blue. https://youtu.be/Vd0s3Za47Uw | |
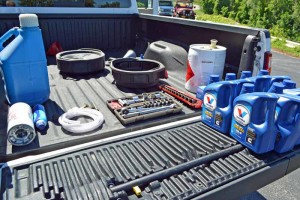 |
Time to gather supplies and get started. I had to think carefully about this as I could not do the oil change in my driveway because of the slope of the driveway. |
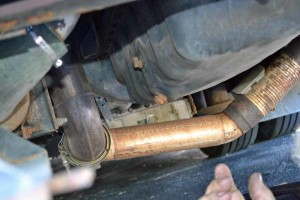 |
This was the most intimidating part of this project. There is six gallons of oil behind this plug. Turns out there is actually two drain plugs in the side of the pan. I could take the first one out, and drain of some oil, than swap drain pans and remove the second. I could control the amount of oil going into drain containers this way. |
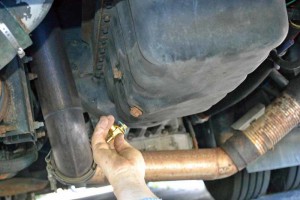 |
I elected to go with the Fumoto drain valve instead. This would allow me to control the draining of Hot engine oil (remember Gillig specified the engine should be at 140 degrees).The Fumoto valve for my Cummins 6CTA is a F104 and if you want the nipple to put the hose on it is a F104N thread size 18MM-1.5 |
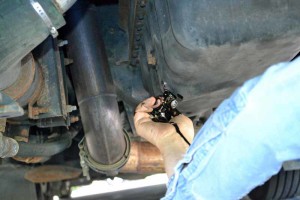 |
So with a drain pan under the engine with a six point socket that fit the Cummins drain plug, I carefully unscrewed the drain plug until I could unscrew the plug with my fingers. Holding the plug in the hole when it was fully unscrewed I pulled it out and placed the Fumoto valve over the hole and screwed it in. The oil you see is what escaped, none on the ground and not much on my hand. |
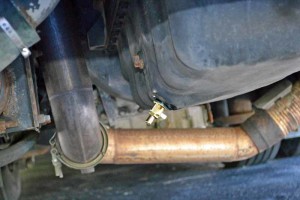 |
The Fumoto valve is installed. I purchase the one with the nipple. on it so a hose can be attached so it can drain directly into a five gallon used paint thinner container I had. |
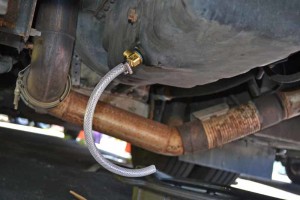 |
This allowed me to attach a hose so it can drain directly into a five gallon used paint thinner container I had.The drain pan in the picture was just used to catch any drips while change between containers |
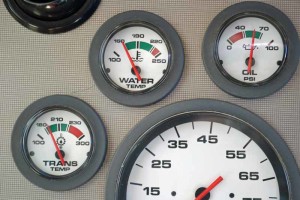 |
With the valve installed and no longer any chance of getting hot oil on my hands, it was time to get the engine above the Gillig required 140 degrees. |
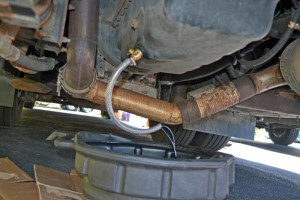 |
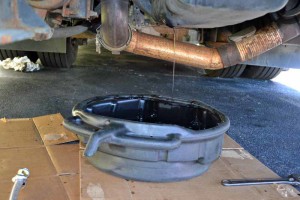
Draining the oil out of the crankcase was anticlimactic and went over with no oil on the ground, or for that matter on my hands |
 |
One of the suggestions I received was that the Fumoto valve might not allow the oil to drain quickly enough to pull any sediment across the bottom of the crankcase pan and out the drain hole. I have to agree with this comment. So when I had drained enough oil out that I was confident that what remained would fit in the drain pan I pulled the Fumoto valve and allowed the oil to drain out the drain plug hole unrestricted.I have decided to reinstall the original drain plug and follow the same procedure of installing the Fumoto valve again at the next oil change. |
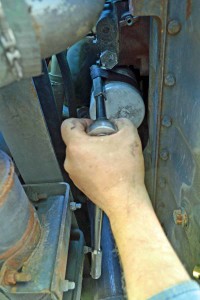 |
Removal of the oil filter was a little more difficult, but not hard. What you see here is the oil filter strap wrench wrapped around the oil filter, an extension on the oil filter wrench and a half inch drive ratchet wrench. Cummins did the last change and the filter was really on tight. |
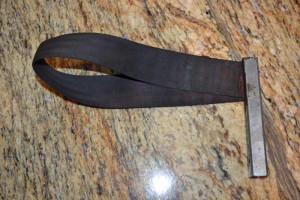 |
This is what the strap wrench looks like |
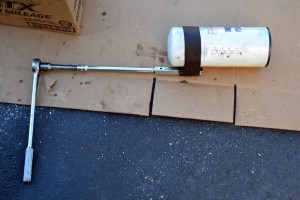 |
This is the setup I should have used. The only difference is the second 10 inch extension. This would have allowed the ratchet wrench to turn under the crankcase pane instead of being up between the engine block and frame rail. Learned this for next time. |
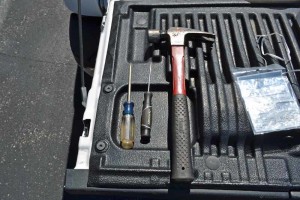 |
It was also suggested that a hole should be punched in the bottom of the oil filter to drain it before removing it. I originally had intended to drill the hole, but after seeing the heftiness of the oil filter mount I had no qualms about punching the hole. Here are my tools to do that, a sharp punch, a Phillis screw driver to enlarge the hole and a hammer to drive the punch and screw driver through the oil filter. |
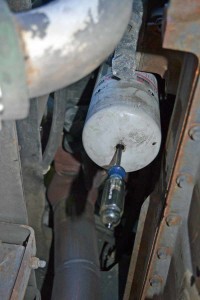 |
Here is the Phillis screw driver sticking out of the bottom of the oil filter |
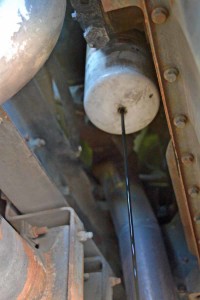 |
The oil draining out of the filter (by the way the size of the filter does not translate through these pictures. To give you an idea of its size, it holds a gallon of oil). |
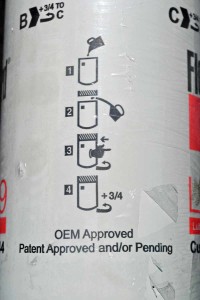 |
This is the side of the Fleetgaurd filter Cummins part) It repeats what the manual says. |
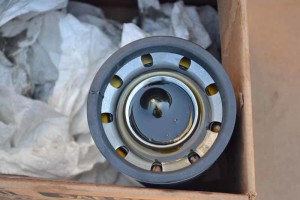 |
You have to fill both the inside and outside (holes around the outer edge) to fill the filter. Also do not install until all the air bubbles stop raising in the filter. |
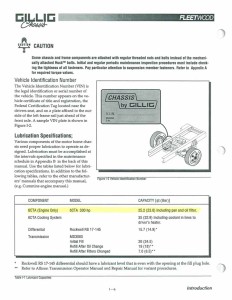 |
Now an interesting factoid. The instructions in the Gillig Manual for doing the oil change says “6. After replacing the engine oil filter, use the engine oil fill tube (figure 1-21) to add 25.2 US quarts of oil. THIS IS INCORRECT. In the specifications section the manual states “ 6CTA (engine only) 6CTA 300HP 25.2 quarts including pan and oil.I filled the filter, and put 6 gallons in the pan, ran the engine to check for leaks, let it sit while I hooked up the dragster trailer to the truck and put everything away and then went back and checked the oil level. It is just above the full mark, just reaches the top of the arrow pointing to the full mark.I know that this engine pucks oil out the puck tube if it is over full, so I will have to come back tomorrow and drain a little bit of oil out of the pan.
If I had left the drain valve installed this would be easy. I will just loosen the drain plug and hold it (getting my hand all lubricated with clean oil) until I have drained off a quart. |
