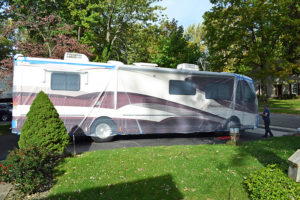
Dicor Roof Sealing 2017 10 22
Click picture to see larger image
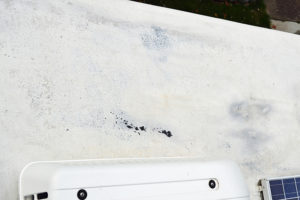
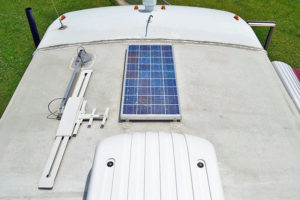
As this season progressed, I noticed the protective coating on the roof was starting to fail. There were two areas the size of a quarter where I could start to see the black EDPM membrane through the protective coating and it certainly was dirty.
 I received an estimate to recoat the roof from John Siel of Wilkins RV in Churchville for $2,800. It is true that was back in the height of the RV season. He said it would take four hours to complete. Both the amount and time do the job just did not seem right to me. Time for another do it yourself project and probably get better results.
I did some research and it seemed that the Dicor product was the best, also the most expensive. Total material cost for the coatings was $306.68 and we had a gallon left over which we will be returning. There was additional expenses of plastic, rollers, and brushes.
The weather here has been quite warm for this time of the year. In fact it is running 15 to 20 degrees warmer than normal. I will get into how important the weather is in the decision to do the project.
Note: I did not get to take as many pictures to cover this project as I would have liked, but there was a time constraint in the application process and the process took precedent.
Note: The surface area of my roof…the Motor Home is 39 feet long, however the rubber roof does not cover the entire roof. There is a four foot fiberglass cap in the front and another one foot fiberglass cap at the rear. Also there are two roof fans, a skylight for the shower, a solar panel and two A/C units. So let’s figure the treatable surface is 34 feet by 8 feet = 272 sq. ft. minus 12 sq. ft. (2 ft. X 3. Ft) for the A/C units = 260, minus 4 sq. ft. for the fans = 256sq. ft., shower sky light is 7.5 sq. Ft. = 248.5 sq. ft. and finally the solar panel for 6 sq. ft. which brings us to 242.5 sq. ft. that needs to be treated.
This is important to know so that you can buy the correct amount of material.
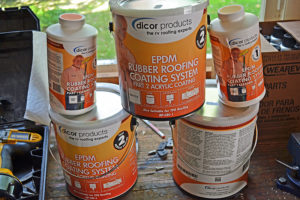 Let’s get started. This is a two part application process. The first step is the Cleaner/Activator.
I will add comments and pictures throughout the application steps as I feel needed.
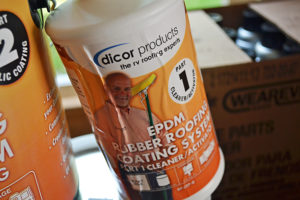 Application Instructions for part 1:
1) Apply Cleaner/activator via a sprayer (Hudson-type agricultural conventional pressure) at an application rate of 125 sq. ft./qt.
I have no idea what kind of sprayer this is, I do have a sprayer that I have used for Round –Up, but did not want to use it for this.
I read the instructions in the store and asked about this and was told that I could roll it on (I used a brush around all the obstructions and my wife did the rain gutter and all the bolts that hold the EDPM membrane in place). This worked just fine.
We had JUST enough with two containers of the Cleaner/Activator to do the entire roof without skimping.
Note: What I should have done was buy three containers and returned the unopened one to insure that we had enough (I did ask if we could return unopened containers and was told we could). I actually sent my wife back to the store to buy a third container but they had sold the entire stock out between the time I was there and my wife got there.
2) Use a 3 – 4 foot arc pattern.
3) Allow Cleaner/Activator to stand for a minimum of 15 minutes.
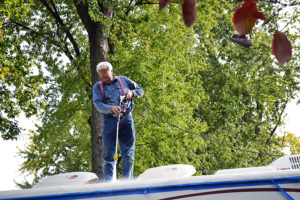
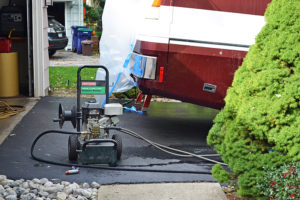 4) Clean EPDM with a commercial power washer (between 2000 – 3500 psi). When cleaning the EPDM, set the pressure washer to a wide pattern. Wash slowly keeping the washer at or around 12 inches from the roof.
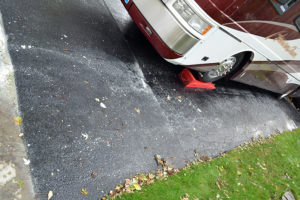
My pressure washer is 2400 PSI at 2.2 gals a minute. I’ll talk about the plastic on the side further into the project.
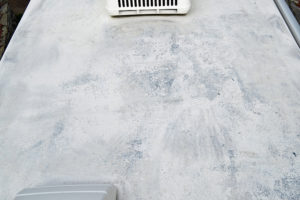
The result was a very clean surface, in this area it looked really good, almost good enough to leave it alone, but wait
A LOT of the old coating came off with the pressure washer. There were a lot of spots where the Black EDPM membrane could clearly be seen.
5) Rinse thoroughly with power washer. The rinse step may be done at a faster pace than the cleaning step. The final rinse water should be clear with no soap bubbles present.
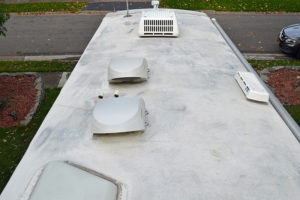 When the pressure washer peeled off the old coating it left pieces of the old coating attached to the roof sticking up. What we did was take a wire brush (by hand) and went over the whole roof. This picked off even more loose coating.
6) When the surface is dry, coating can begin. (The following was in capital letters.) ALLOW SURFACES TO DRY THOROUGHLY PRIOR TO APPLICATION OF THE ACRYLIC COATING.
This completes the instructions and process for the first step of the two step process.
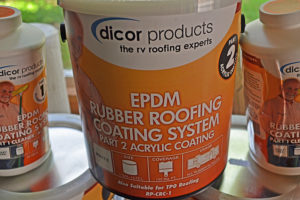 On to the second step. The instructions for this step are broken up into three sections. 1) Preparation, 2) Weather Precautions, and 3) Application
1) Preparation:
Thoroughly mix the contents for a minimum of 5 minutes prior to application. Dicor Acrylic Coating may be applied by a medium nap roller or brush. Clean equipment with water and universal cleaner.
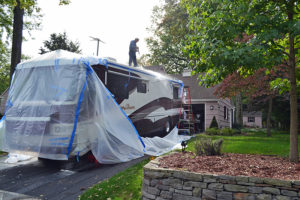
Use plastic sheeting to protect sidewalls and end caps of the units. Be sure plastic runs to the ground/floor.
Notes:
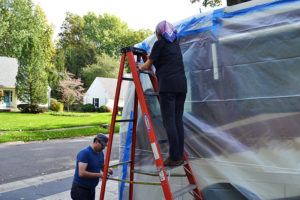
First off the plastic sheeting is a total waste of time unless you are a REALLY messy painter. Putting the plastic up took a long time and actually caused us to not get the whole process done in one day. This point (getting it done in one day) is stressed and capitalized on the back of the can.
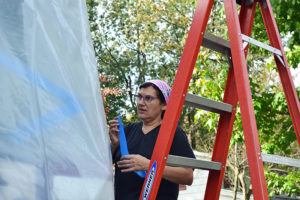
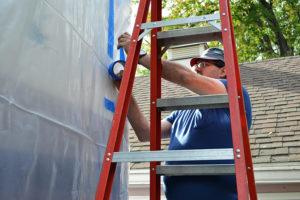
I have both my wife and first son helping put this plastic sheeting up.
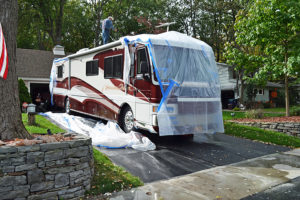 Even though we used two layers of tape in the gutter and the side of the Motor Home to create a base to attach the plastic sheeting and two more layers of tape to hold the plastic to the bus and we taped the plastic sheeting to the bottom of the Motor Home.
It all came off with the first good wind and presence of the power washer (air movement caused by the jet of water), the water never hit the edge until we lost the plastic, then there was no need to be careful of the plastic at the edge.
To mix the product I took a piece of metal weld filler rod and made a stirrer.
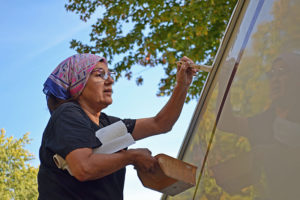 We used a roller on the flat areas of the roof and my wife worked her way around the Motor Home on a ladder doing the gutter, the bolts and hold down strip of the EDPM membrane.
2) Weather Precautions:
Dicor Acrylic Coating requires complete evaporation of water to cure. Cool temperatures and high humidity retard cure. Do not apply if weather conditions will not permit complete cure before rain, dew or freezing temperatures occur. Dicor Acrylic Coating will freeze and become unstable at temperatures below 32 degrees within a 24 hour period after application.
Notes: We are late in the season here, but as I stated above we are experiencing 15 to 20 degree temperatures warmer than normal. Our last coat was applied Sunday morning between 9 and 10 o’clock. Sunday reached 76 degrees and today (Monday) we are supposed to get to 72. Overnight temperatures have been in the fifties. Tonight at 2 in the morning we are expecting rain (they are predicting .28 inches). The weather is then supposed to get much cooler, but no temperatures (even overnight) will be below 40. I believe we are good to go to get a full cure before and rain or freezing temperatures.
3) Application:
Dicor White Acrylic Coating must be proceeded with Dicor Cleaner/Activator to ensure proper adhesion. All Cleaner/Activator must be completely removed from roof prior to applying acrylic coating. All surfaces must be clean and free of residue or loose particles, degraded substrate, grease, oil, dirt, or other contaminates. Surfaces shall be completely dry and frost free before coating. Deteriorated or damaged substrates shall be repaired or replaced. Dicor Acrylic Coating shall be applied in a minimum of two coats at a rate of 1 gallon per 125 sq. ft. per coat (i.e. 8’ X 30” roof takes 4 gallons). Actual gallons required will depend on the type of surface and texture, method of application, and weather conditions at the time of application. All surfaces must be uniformly coated and free of voids, pinholes, or blisters.
The following was in all capital letters, NOTE: ENTIRE 2 PART PROJECT MUST BE COMPLETED IN ONE DAY; INCLUDING CLEANER/ACTIVATOR APPLICATION, RINSING AND 2 COATS OF ACRYLIC COATING, EACH DRY TO THE TOUCH.
Notes: Although the Cleaner/Activator amount specified was right on, we used a little over half what they said should be used of the Acrylic Coating. We did not try to scrimp in the applications. If anything, I put it on in heavy coats, except half way though the second coat when I thought I might run out of our second can, and then only for a small portion of the roof. We did have a small amount of left over product.
They did include this disclaimer “Actual gallons required will depend on the type of surface and texture, method of application, and weather conditions at the time of application”. We had no texture which would tend to use up material, the surface was well prepared. I have placed a call to Dicor to discuss this but have not heard back.
The RV Service Center where I bought this product stated I would use nowhere near what the can was saying. They said I was buying too much, but I absolutely did not want to run out half way through the project.
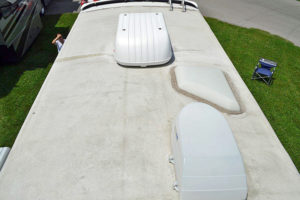
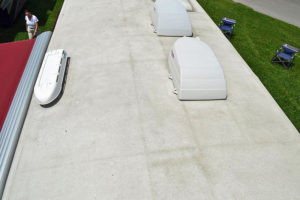
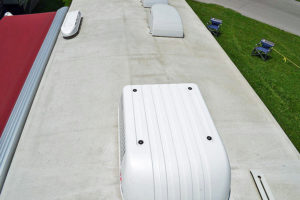
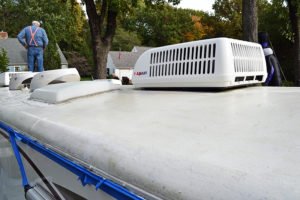
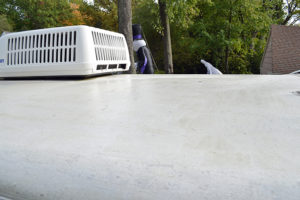
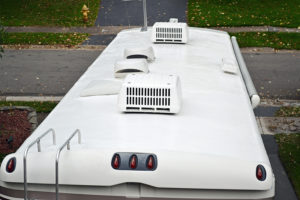 This is how the roof looked like after the first coat.
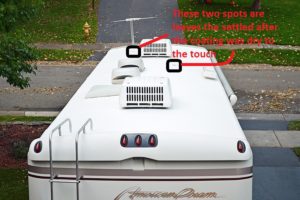 This is how the roof looked like after the second coat.
So let’s talk about this second coat.
First off, we ran out of time to apply the second coat on the same day. If we had not played with the plastic sheeting we would have been fine.
The directions say to apply the second coat as soon as the first is dry to the touch.
Dusk came before the first coat was dry to the touch. I do not think the first coat will fully cure overnight because of the cool temperatures (The directions also say not to apply when frost or freezing temperatures are expected so I think it can take the cool temperatures overnight). We are supposed to have record high tomorrow so the first coat should cure.
There is some contradictory information on the back of the containers. One says “Allow surfaces to dry thoroughly prior to application of the acrylic coating”. The second one states “2 coats of acrylic coating, each dry to the touch”. This is not the same thing as thoroughly dry, at least not to me. I think what they wanted was the surface fully dry after the Cleaner/Activator and not quit so dry between coats of the Acrylic coatings which is exactly what I did.
As a precaution, I painted up a test piece and applied a second coat to it in the morning and let it sit an hour to see if any unwanted side effects happen. Nothing happened. I tried calling Dicor for advice, but they were closed. I left a message and at this point still have not heard back from them (currently 12:01 Monday).
Secondly, you do need two coats. Even though I put the first coat on heavy as I could without having runs or roller marks, when I went to put the second coat on you could still see that it had not fully covered or was sucked into the surface.
I applied the second coat in the same method (heavy as I could without having runs or roller marks) and it did not seem to take as much material. I did, as mentioned above, not go as heavy when I thought I might run out of our second can, and then only for a small portion of the roof.
We did have one full can left over.
Depending on the advice I receive from Dicor (if I hear from them) and the appearance of the roof once I am willing to walk on it again, I may redo the whole procedure in the spring to insure the EDPM Membrane is fully protected.
That is certainly cheaper than replacing the membrane.
Guess what? I heard back from Dicor. They said no problems with the overnight for the second coat. On the drying instructions, they said they want the roof totally dry after the Cleaner/Activator and between the first and second coat of the Acrylic they want it just dry enough to walk on, but not fully cured. This is exactly what I had. On the amount used, they state the 125 Sq. Ft. coverage because they do not want anyone to run out half way through the project. The amount I used is fine based on the smoothness of the roof, the temperature of the day and the way it was applied.
Hurrah!
