Fog Light LED Replacement 2017 06 01
Click picture to see larger image
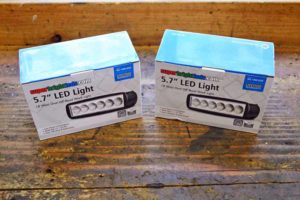
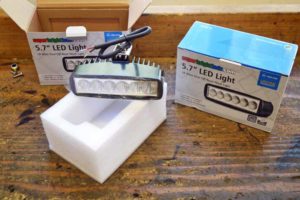
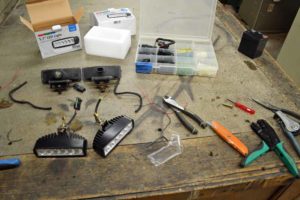
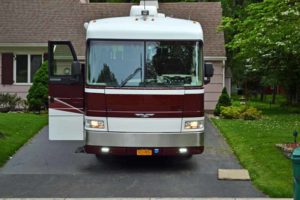
I have had next to useless fog lights on the motor home. Time for an upgrade. I gave Anne the dimensions of the lenses of the existing fog lights and asked here to try and find something close. She found these and I ordered them.
Product Description
This high-powered LED work light is great for off-road driving lights, daytime running lights, or fog lights on your motorcycle, truck, ATV, or UTV and can also be used for industrial lighting, marine lighting, and tractor lighting. The 5.5″ rectangle work light has 6 powerful LEDs that produce 1,350 raw lumens of cool white light. LEDs emit either a 30° or 60° beam pattern. The durable LED work light is waterproof and shock resistant. A black-painted aluminum housing and polycarbonate lens protect internal components, and an integral heat sink allows LEDs to run cool, which leads to an incredibly long life span. The LED work light is capable of being driven at 18 watts but typically consumes 12.4 watts of power. The light has an adjustable stainless steel mounting bracket and operates within a wide 12-24V DC range. Lifetime warranty on all LED work lights.
Using the amperage formula, each light uses 18 watts at 12 volts which means each light will use 1.5 amps. The side of the box lists this;
Power Consumption 13 watts
Voltage 12 – 24 VDC
Current Draw 0.97
Lumens 1350
Dimensions 5.71″ X 1.79″ X 2.6″
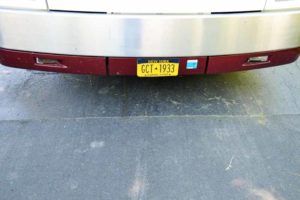
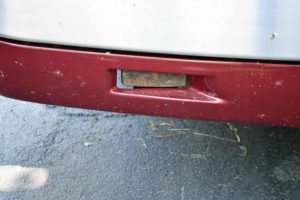
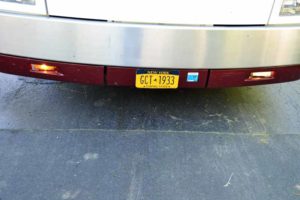
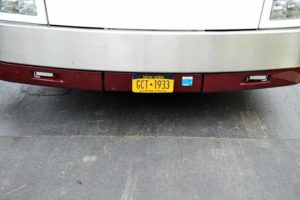
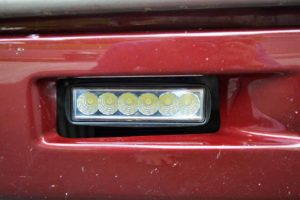
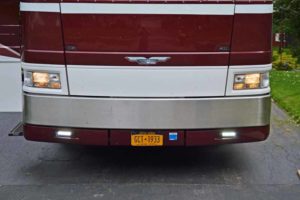
This is what is in the lower valance of the front of the motor home.
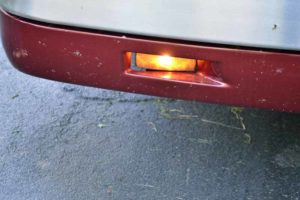
The light on the left looks particularly bad. When we apply power it is just about useless. You can tell it is on, but throws no light at all.
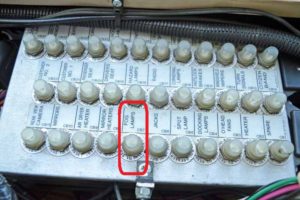
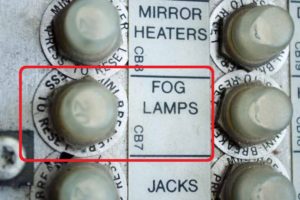
I was concerned that the new lights might tax the existing fog light circuit, but when I investigated I found behind the dash board a circuit labeled fog lights with a 20 amp circuit breaker. I do not think the 2 amps these lights will draw will tax the circuit.
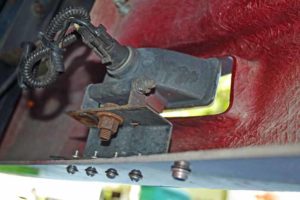 I have actually had these lights out before when the lower valance was painted. When I reinstalled them I did not use rivets like the original install, but used stainless steel nuts and bolts.
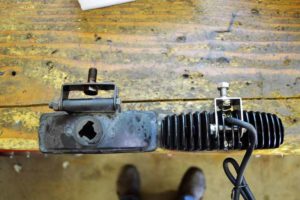
This is what the back side looks like. For once there is good access
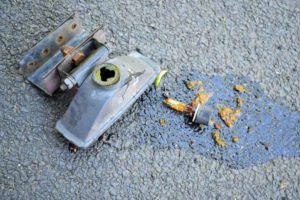
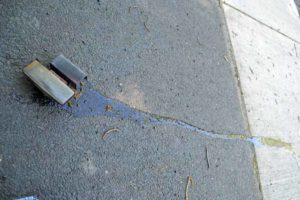
So I think I found out why the left light was so dim. It was full of water, and I do mean full
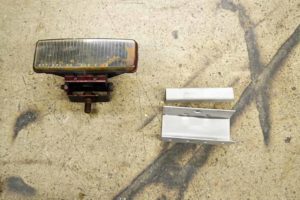
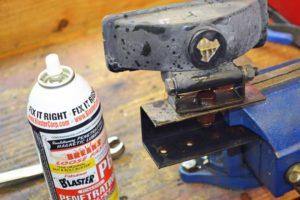 So even though the lights had been out not too long ago, they did not separate from their mounting brackets without a struggle.
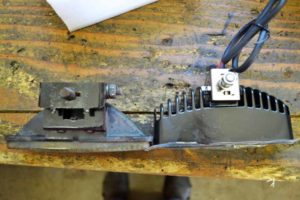
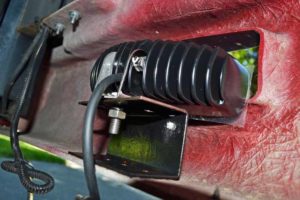 The lenses of the new lights are very close to the same dimensions as the old lights, but the mounting locations are different. The stud on the new lights is further back and not as high as the old lights, so we will have to make some modifications to the mounting bracket
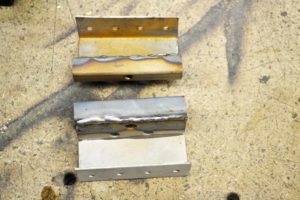
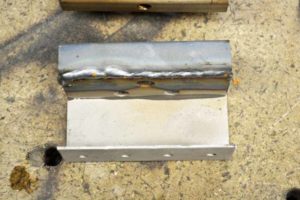
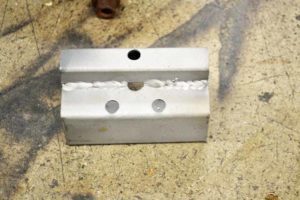
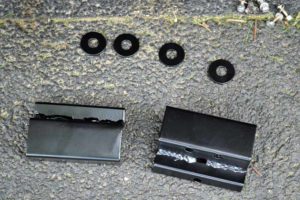
The light has to be moved up 9/16’s of an inch and back ½ inch. I had some square tubing on hand. I sand blasted both the bracket and the tubing and welded the tubing to the bracket.
I’m not the best welder, but I think these will stick together. I am now wondering if I shouldn’t have boxed the ends as the lights are significantly heavier than the original lights and now are mounted further up and out on the bracket. We will see if the vibrate when going down the road and if they do I will pull them back off and box the ends. I cleaned the welds up by sand blasting.
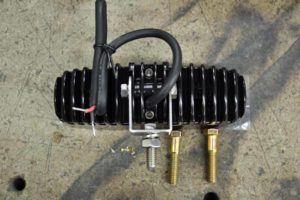
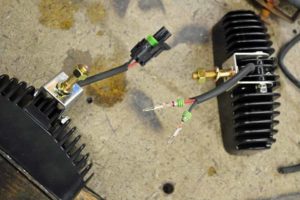
So now that I have put a spacer on the bracket the bolt on the light is no longer long enough to go all the way through the bracket. The light is designed in a way that the bolt in the mounting bracket on the light cannot be removed without taking the light apart. That did not deter me however. New longer bolts were installed on the lights
I am a big fan of weather pack connectors and also like to be able to remove assemblies so the lights will be connected with weather pack connectors.
You can find a discussion of weather pack connectors at this link
http://www.irv2.com/forums/f107/projects-on-my-1997-american-dream-174380-52.html#post2741636
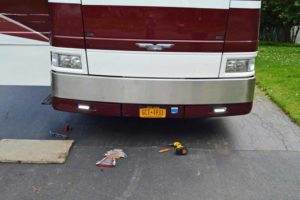 First trial run of the lights without mounting brackets. They are in the oven being power coated. They are very bright to look at and I am concerned they may be too bright.
So while I was doing the wiring I was allowing the powder coat to cure.
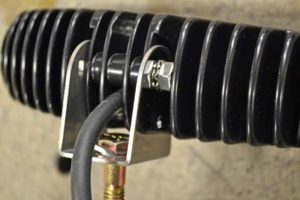
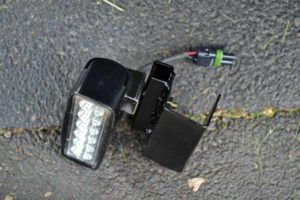
I powder coated the brackets and this is what they look like (semi-gloss black.
By the way I love powder coat. Heat the object to out gas, let it cool, spray the object, heat it to cure, let it cool and it is ready to bolt on. No waiting on paint to cure. You can see a discussion on powder coat at this link.
https://www.lever-family-racing.com/powder-coat
This is what they look like installed
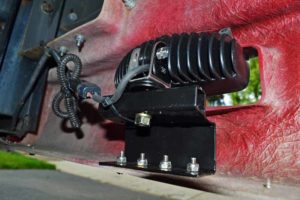 The back side. If you look closely you will see a short length of rubber hose in the upper right corner of the light. The bracket is dead solid, but the valance vibrates. I will have to come back an ad a brace to stop it. For now the rubber hose seems to work. What I am worried about is the LED will produce a sharp edge to the light it throws and I will see that edge vibrating as we go down the road.
The lights on in the day time, I am concerned that the LEDs are going to be too bright for oncoming traffic. I will take pictures again this evening. The make the headlights look dim and these headlights work pretty good.
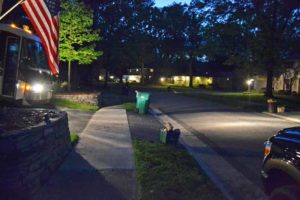
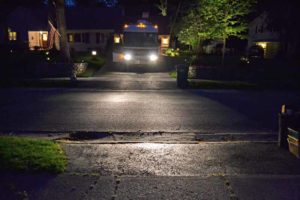
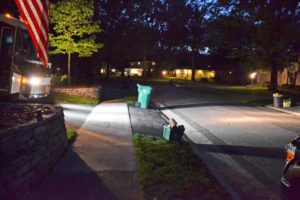
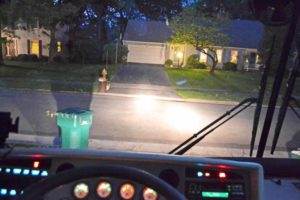 It is night now. The camera is trying to correct for darkness so this is not really a true representation of the lights. In my opinion the LED lights are to bright and not as a defined beam as what is needed for road use. These three pictures are of bright beams only. Out the windshield, from the side and looking at the front of the motor home.
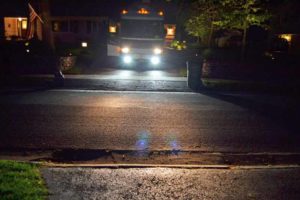
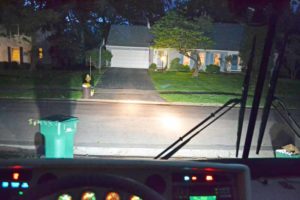 These three shots are of the brights and the LED lights combined. Note that the house across the street is now lit up. Also note how bright the LEDs are compared to the bright lights on the motor home. I will have to find a different set of lights.
