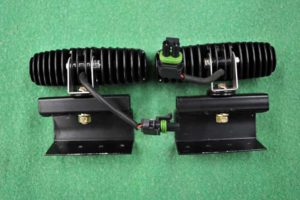
Fog Lights Second Attempt 2017 07 27
Click picture to see larger image
This is the second attempt at replacing the fog lights on the front of the motor home.
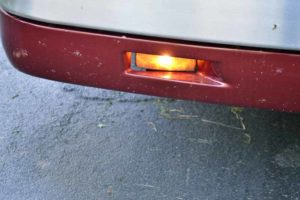
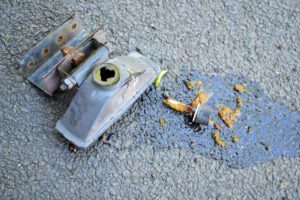
The original set were shot, next to useless and full of water.
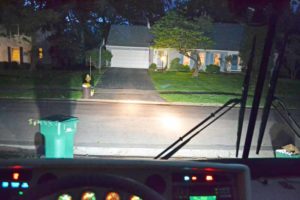
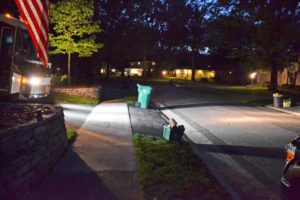
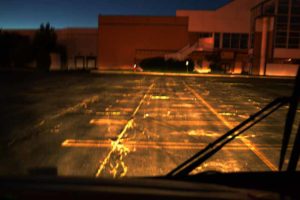
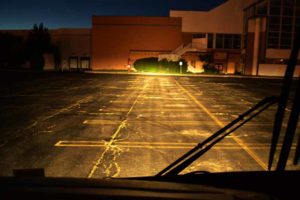
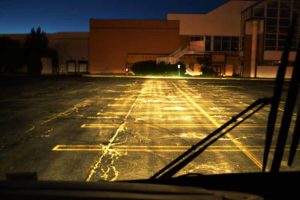
First time around, we used an LED that was supposed to be good for fog lights. The beam was too dispersed both horizontally and vertically; they fit the hole nice and had 6 powerful LEDs that produce 1,350 raw lumens. They were just too bright and would have blinded oncoming drivers. Note how even the roof across the street is eliminated.
So now it is time to try again. After a discussion of IRV2 http://www.irv2.com/forums/f107/fog-light-replacement-1997-dream-342679.html I was not able to find original replacement fog lights (I never did call American Coach but probable should have).
After a search on the internet I came across what appeared to be a good fit and contacted the manufacture. After further discussions through e-mails with Casey Callaway Casey.Callaway@hella.com of customer service of Hella we came to the conclusion this would be a good match http://myhellalights.com/index.php/products/auxiliary-lamps/halogen-lamps/ff75-series/ff-75-fog/
Description: Lamp FF75 Fog H7 SAE/ECE
Ideal for:
• Rural, night driving
• Foggy situations and poor visibility
• Small spaces
Features:
• Compact, long, flat design – convenient for tight places
• Crystal clear lens
• Magnesium Free-Form reflector for optimal light output
• Magnesium provides high thermal resistance that prevents warping
Specifications:
• Voltage: 12V
• Beam Pattern: Fog
• Light Source: H7 12V/55W Bulb
• Power Consumption: 55W
• Housing Material: Plastic
• Optics: Reflector
• Lens Material: Glass
• Connection: Bulb Plug
• Bracket: Steel
• Approval: SAE / ECE
Mounting:
• Upright
• Pendant
Technology:
• Halogen
• Free-Form
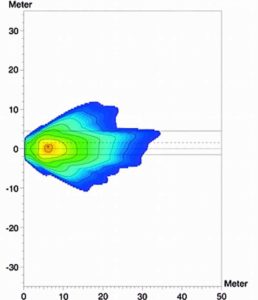
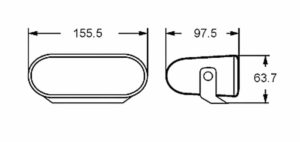
The light discernment pattern seemed correct and the dimensions fit the existing hole.
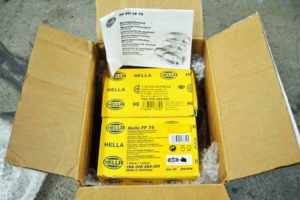
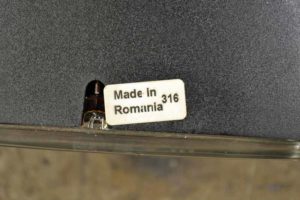
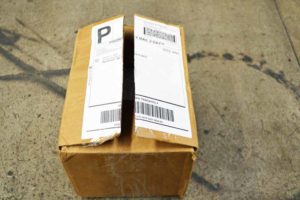 The new lights have arrived. Not made in China, but made in Romania. I do not know if that is good or bad.
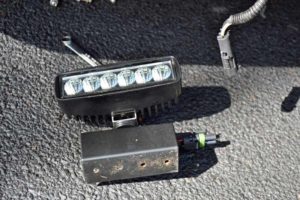
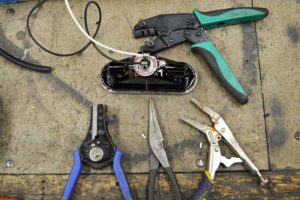
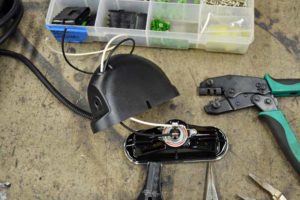
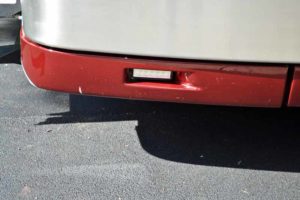 Time for the LED lights to come out. I really like weather pack connectors. Makes installing and removing electrical components easy. How to use Weather Pack connectors can be seen here http://www.irv2.com/forums/f107/projects-on-my-1997-american-dream-174380-52.html#post2741636
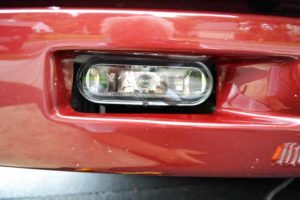
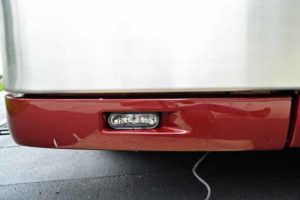
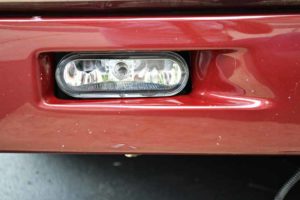
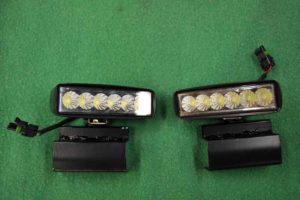
These LED lights fit the hole so nicely it will be a shame to see them go.
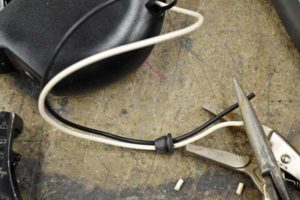
All that will be needed to wire the new lights will be a male weather pack connector
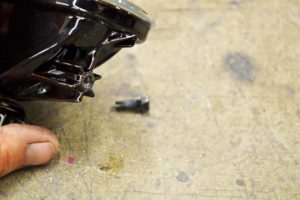
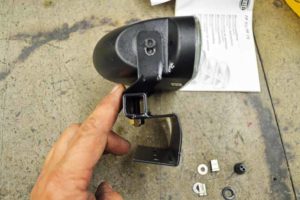
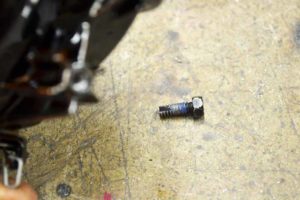 The new light housing does not have the mounting holes taped. They send self-taping bolts to be screwed into the holes. The entire light housing is glass, there is a soft metal sleeve inserted into the glass lamp. I was nervous, but the process went without a hitch. There is a drop of lock tight on the bolt. I will have to add another one as I had to run the bolt in and out so many times in the fabrication of the new mount, but I am getting ahead of myself.
I really wanted to be lazy and use the old mounts and I worked really hard at it.
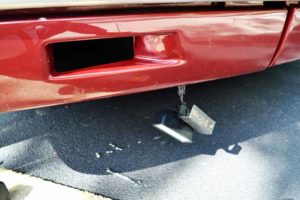
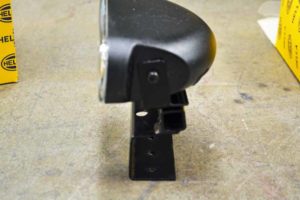
The old mounts had the lamp too high in the hole so the first thing I did was drill new holes in the supplied mounting bracket slightly lower.
The result was the lamp housing hit the bolt that holds the lamp bracket to the bracket I had to mount the lamp to in the motorhome. There was no adjustment left if the lamp needed to be angled down.
The second attempt was to “Squish” the old bracket in a vise to decrease the height of the mounting surface.
This did get the light to align in the hole but it was too far back from the hole to look right.
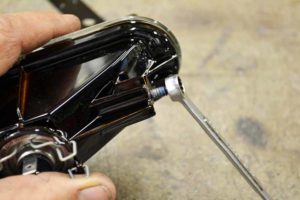
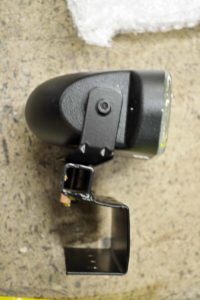
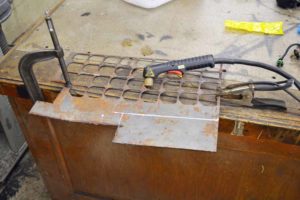
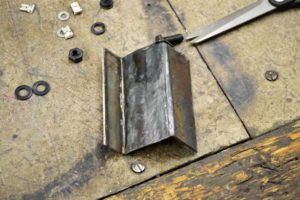
Ok, enough wasted time, time to make new brackets. I do not have a break heavy enough to make the bends, so I had to resort to a vise, heat, and a hammer
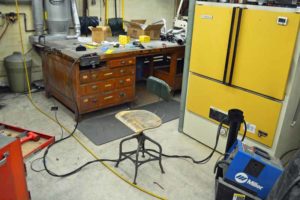 It is truly amazing to me how many tools get pulled out to make a simple bracket. I could have cut the metal with a jig saw, but the plasma cutter made short work of it.
I am now happy with the lamp alignment to the hole, how the lamp sets just flush with the rear of the fiberglass hole in the valance. The lamp can be adjusted up and down, and side to side.
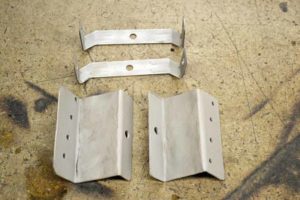 Into the sand blaster with all of the brackets. I had black gloss in the gun and was lazy and did not switch to semi-gloss. No one will ever see these brackets (well not on the vehicle).
Through the wonders of powder coat, in one hour, I have brackets cured and ready to install
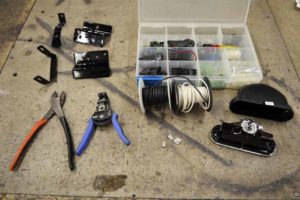
A wiring harness is not provided, but the clips and grommets are. The clips for the backs of the lamps take a special crimping tool which I do not have so I did it carefully with a set of vise grips. The wire is fed through the grommet out the back of the housing. A little saliva helps feed it through the tiny holes
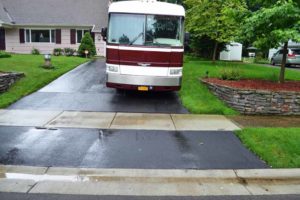 I would swear that, if not for the coolness in the air, we live in Florida as it seems to rain every day. I’m not going to lay in the wet driveway to install these they will just have to wait.
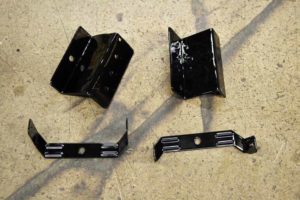
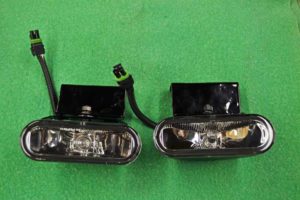 Anyway here are the completed brackets.
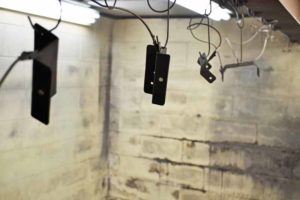
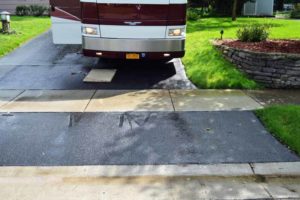 Sun came out, but the ground was still wet. I could not wait so I put a mat down (it helped but I still got wet) and I put the lights in. The color of the fog lights match the headlights, which I like. I know the beams are broad, narrow in height, and very defined (I tested them in the basement). I may have to add bracing as the valance does allow vibrations. Now to wait for darkness to see what they are like.
Anne and I went over to an abandoned mall and set up the head lights (all of them including the main head lights).
On the way home, I decided that they were a touch too high and aimed them slightly lower on the fly. I will have to check again next time I drive at night.
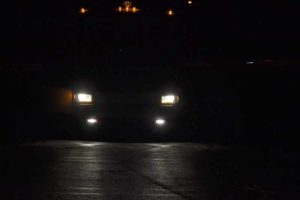
These pictures are deceiving as the camera tries to correct the light level. The fog lights are nowhere near as bright as the LED lights but have a very definite defined beam.
The aiming instructions state the top of the beam is to be 4 inches below the centerline of the light 25 feet out.
The first shot is just the fog lights, second is fog lights and low beam, third is fog lights and high beam, and the last shot is looking back to the motorhome.
Before I disassemble the LED lights and use them as work lights on the back of my trailer is there anyone out there that would like to buy these as replacement fog lights for the front of your American Coach. Some fitting will most likely be needed as the fiberglass valances on the front of these coaches will have differences. I am also sure the mounting holes between the original light bracket and the valance were drilled free hand at the factory. $65.00 plus shipping.
