2006 Car 2016 04 30 Trailer Hasp Repair
Click picture to see larger image
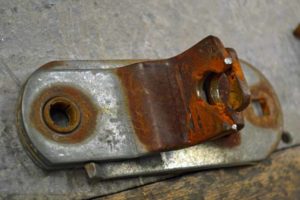
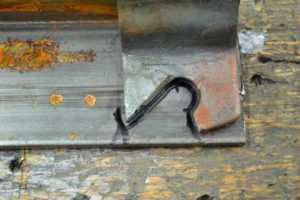
On 01/15/2016, I found the trailer had been broken into. It is obvious that this happened a while ago as the cut marks in the hasp have rust in them (the lock hasp itself was rusted, I’m talking about the rust in the cut made by the bolt cutter).
The first order of business was to fully protect the trailer from an future break ins with a multi redundant VERY load alarm
It seems to me that whoever did this was experienced as they did not try to cut the lock hasp (it is hardened steel). They cut the hasp which is not hardened steel.
Cabinets were open, but I had removed everything from the trailer and put it all in my basement for the winter. I lucked out.
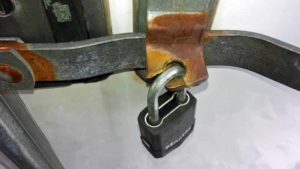 I installed a simple, effective very loud alarm system. I’m not going to detail it.
I left the hasp alone for the rest of the winter, but now is the time to repair it. I want to keep honest people honest, I just wish people would leave other people’s stuff alone.
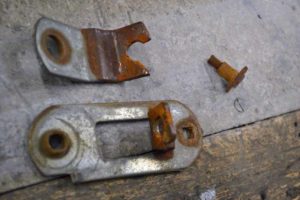
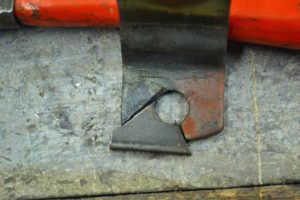
I tried to locate locally a replacement hasp but could not. Time is of the essence as we are leaving in three day to go racing so the only option it to fix this one. There are two pieces that were cut and one bolt that broke off when I removed the hasp from the trailer. The one piece can be bet back together, but the other piece the cut a hunk out of it so I will have to make a patch.
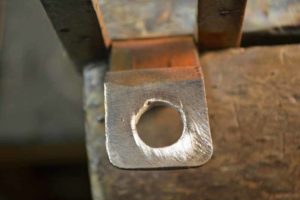
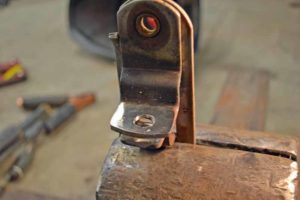
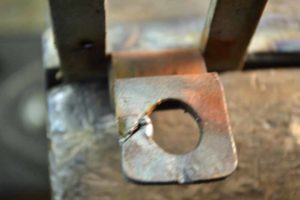 So let’s start with the easy piece first. A little heat, and some gentle persuasion with a hammer and we get the piece reasonably lined up and back together. A couple of heave tacks with the welder and then bring out the grinder and all in all it does not look that bad.
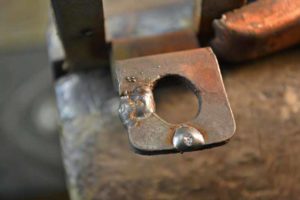
The next piece is not so easy, but a little body type work should bring it around. First thing to do is to make a patch piece. Easy enough all we have to do is add back the metal that is missing. This is pretty heavy metal so it calls for a cut off wheel.
A little grinding on the patch and it fits pretty well.
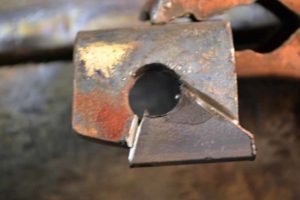 So I tacked it into place, turn it over and cut some groves between the pieces so that I get good penetration with the welds.
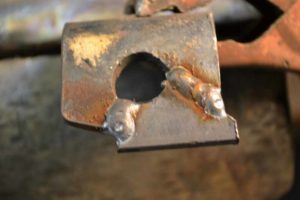 I have the welder turned up as high as I can without burning through the metal
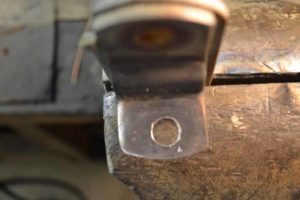
A little more grinding and the two piece fit back together and the holes for the lock line up.
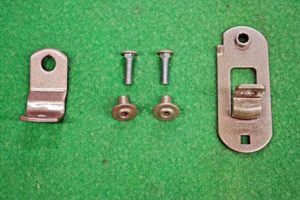
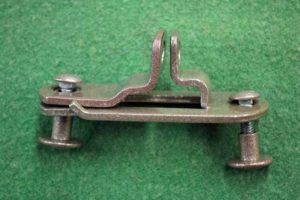
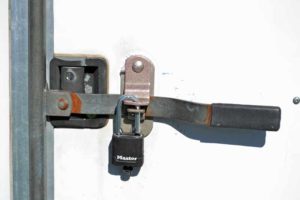
How quickly time passes with the magic of posting projects, the pieces have been made to look pretty with powder coat. The hasp should be able to once again perform its intended function.
You can see I was in a hurry, and it was late at night. I did not get all the red out of the gun before I laid the base coat of gray down on the hasp. I could come back and do it over again, but I doubt that I will do that. Too many other tasks that need to be completed.
