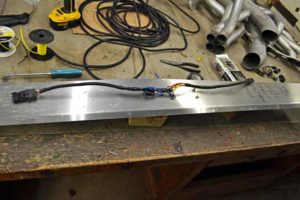
Ramp Loading Lights 2017 09 26
Click picture for larger image
Well after the failure of the LED light project on the front of the motor home See this link Fog Light LED Replacement I had to come up with something to do with these lights.
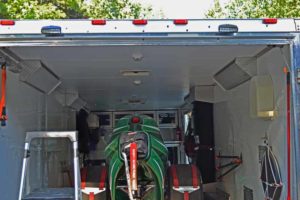
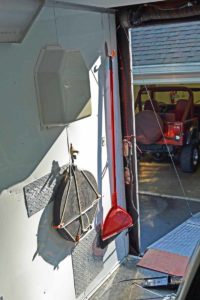
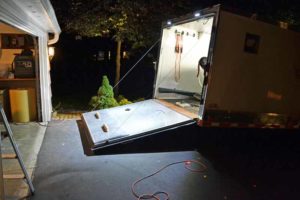
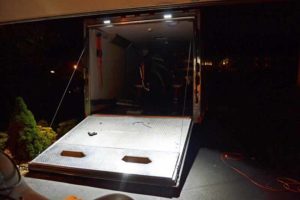
The back of the trailer has always been dark when loading the dragster at night, and you can always use more light when backing up.
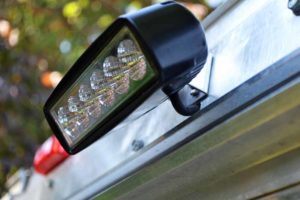
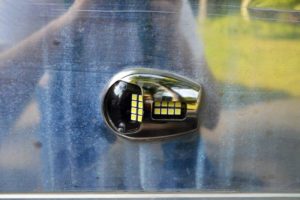 I did install two boat bow docking lights on each side of the trailer but they really are not adequate. They certainly help.
Just a note on them, they are meant for an angled bow and were designed to project light straight forward.
There are two LED arras in the lights, one points straight out and the other angles out towards the rear of the trailer. They just could be brighter.
So time to give them some help.
What I want to accomplish is to have these new LED lights sever two functions, one have them come one when the tow vehicle is put into reverse, and two be able to turn them on independent of the tow vehicle to use as loading lights.
Now I am sure there is a solid state circuit that I could build to accomplish the isolation of these two electrical functions but I still live in the age of relays.
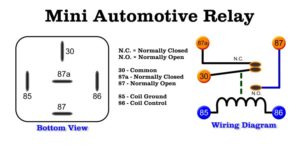
The relays I have contacts for both triggered and untriggered conditions. The first step is to understand the contacts on the bottom of the relays. There are numbers beside the spade connectors on the bottom of the relays and these numbers transfer to most relays.
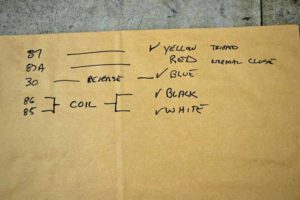
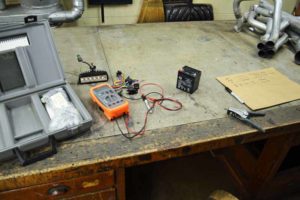 With a little testing and a battery to trigger the coil in the relay I was able to map out connectors.
I also looked it up on the internet, but nothing takes the place of empirical testing.
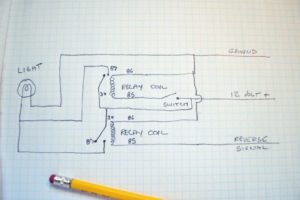 A little scribbling on a piece of paper gives me a diagram of what the circuit should look like to provide the two functions I want.
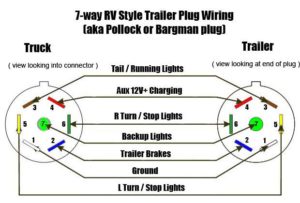 This is the wiring diagram for the trailer 7 pin connector. The center pin is the pin for reverse light
Ok, let’s figure out where on the blank canvas and how we will mount the lights, looks like another bracket fabrication is in the works.
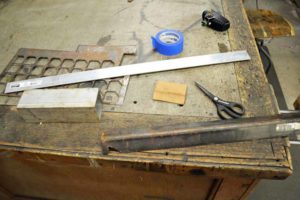 Oh, what should I make the brackets out of? I have so many scraps of different types of metal to choose from.
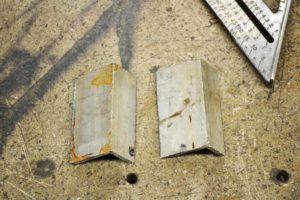
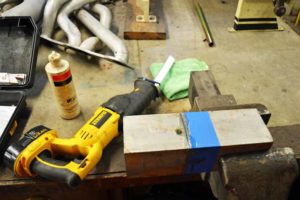 I chose the 3 inch square aluminum tube. I was able to get two brackets out of the tube with some cutting.
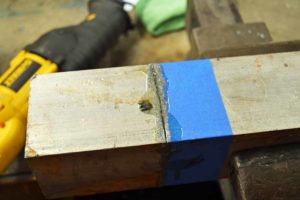
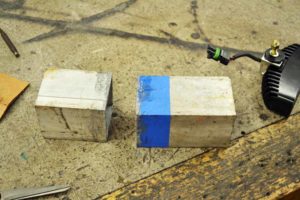
First, I cut a four inch piece off of it.
(Yes with a sawsall) I have found putting oil on the area to be cut keeps the teeth of the blade from clogging up.
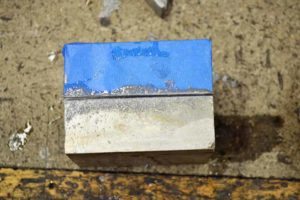
Then made several cuts the length of it
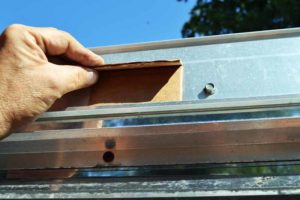
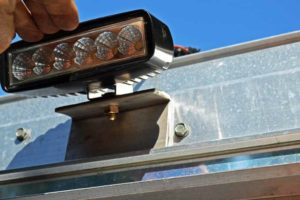
With a little bit of heat, a large vise, a piece of heavy scrap metal and a large hammer, I was able to induce, persuade, an angle into the bracket. Drilled a hole in it and test fitted it on the back of the trailer.
It still did not have enough of a down angle to light the ramp.
That is when I realized that I had just executed a classic case of over thinking the problem. The bracket on the back of the light will do what I need it to do. Just so you know, my mine set was caused because that was not the case when I fit them to the front of the motor home. In that case I could not get them to angle down enough towards the road and had to make brackets not only to get the lights to the right height in the holes in the valance, but to get them to the correct angle in relationship to the road.
Oh well I would have liked to be able to say I made those brackets.
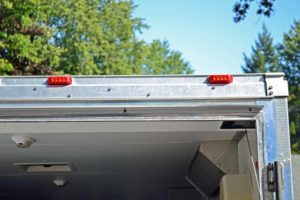
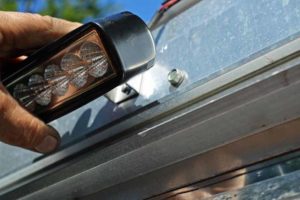
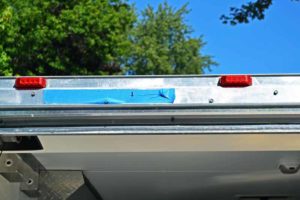
On to finding the right location to mount the lights. Half way between the outer clearance light and the inner clearance lights sounds good to me. No sense in over thinking this as the beam projected from these lights is extremely broad. I would never, ever, over think anything, right?
Holes have been drilled, we are now officially beyond the point of no return.
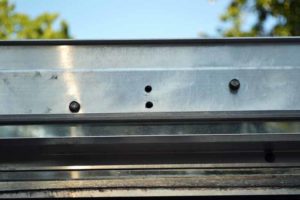
This is what they will look like. I will add silicone to the two holes in the final assemble.
That was the easy part. I have two batteries in the trailer. One is the break-away safety brake battery. The second is a yellow top deep cycle battery that I use for the winch and trailer interior lights (they work when the trailer is not connected to the tow vehicle), and now will power these loading/backup lights.
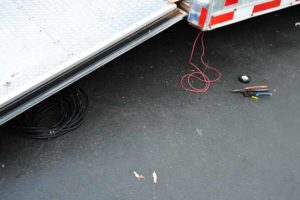
This means running a wire from the front of the trailer to the rear (crawling around under the trailer on a hot sticky day).
I also have to bring a reverse signal wire up into the wall for the reverse lights, and a good ground. To look at the tools on the ground to do this you would not think it was hard. This was helped by the fact that the trailer now sits two inches higher with the new axles, remember I’m a big guy.
So the trailer wiring is done, I have a good ground, a constant 12 volt supply wire and a reverse signal coming up through the bottom of the corner in the right rear of the trailer. I have the power feed wires going to the lights coming down from the top right corner off the trailer.
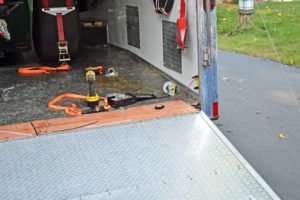 There is a trim piece that goes in the corner which will hide all the wires and where I can mount the switch and relays. There is also a trim piece that covers the door spring so all of the ugliness will go away.
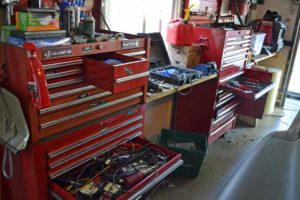 The mess that always seems to develop on one of these projects was inside the garage today.
It never ceases to amaze me how many tools are needed to do the job right. I have two days of cleaning up both the garage and the basement work bench.
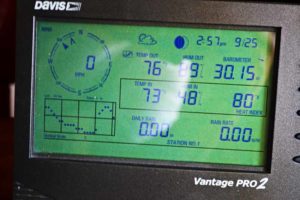 This weather station does not do the day justice, temperature at the airport was recorded at 92 degrees. The humidity was at 87%. If you look at the temperature graph in the lower left corner you can see it was way hotter than the current temperature displayed
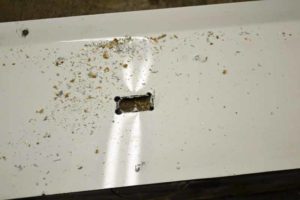
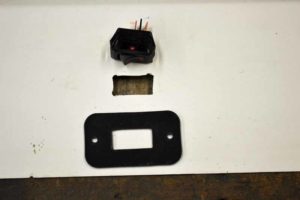
Time to retire to the basement and work on the corner trim piece. First task is to make a square hole to accept the square switch which will manually turn on the loading lights. I do not have a square punch, so I drill holes in all four corners with a small drill and two larger holes in the center. Then out comes the file.
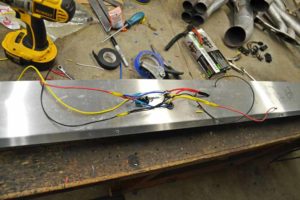
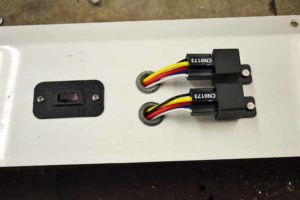 I mounted the two relays and used grommets to pass the wires trough to the back side of the panel. With the relays on the front side of the panel if one ever fails nothing has to come apart, for temporary fix. I would have to remove the panel to remove the bolt and nut holding the relay to the panel.
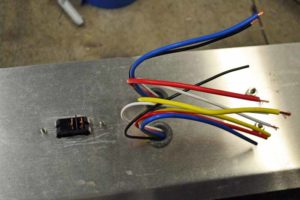 I know a lot of people cringe at wiring. I actually like it. I used weather pack connectors on the wires coming from the floor and ceiling so the panel can be removed at will if necessary.
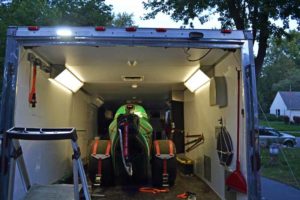 Well what did I do wrong? Only one light comes on! It functions correctly, comes on with the switch, and also comes on when the reverse lights on the tow vehicle are on.
Upon investigation I found the reason the light that was not working was I had connected the polarity up backwards on that light. LED lights care where filament lights do not. I think these lights work great for loading lights and will be a great help when backing up. I now have one of the florescent lights inside the trailer acting up. Time for some more LED lights. No sense putting money into T12 ballasts.
