Create 12 Bolt Control Arms
Click picture to see larger image
(Please wait while loading…large page)
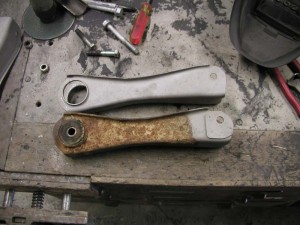 |
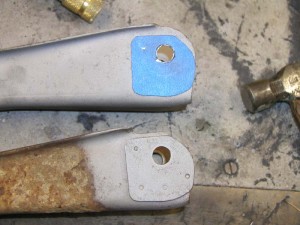
Here you see an original 12 bolt rear upper control arm side by side with an original non 12 bolt arm. The only difference is GM notched the driver’s side (left side) arm to provide clearance for the larger casing of a twelve bolt rear end. A small patch was then spot welded onto the arm to restore the strength in the arm around the bolt that was lost when the arm was ground down to provide the needed clearance. |
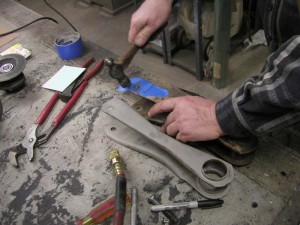 |
To get an exact copy of the patch that GM spot welded onto the arm I used an old mechanic’s trick. I used masking tape to cover the patch. Tap around the outer edge with a hammer to cut the tape into and exact copy of the patch |
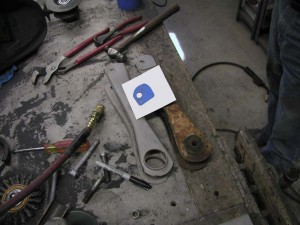 |
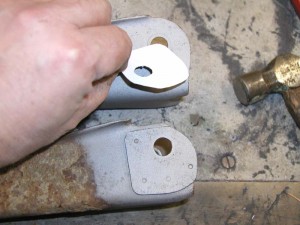
I then pealed the tape off and put it onto a piece of poster board. This became my pattern for marking pieces of cold rolled steel. |
 |
Here you can see the pattern sitting on a non 12 bolt rear upper arm side by side with an original GM 12 bolt rear upper arm. |
 |
|
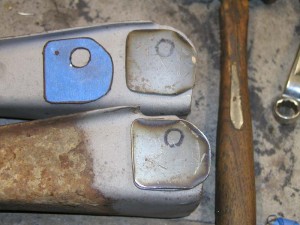 |
Here are two patches which were cut out using a cut off wheel. I have since gone high tect. I took the pattern to a shop and had 100 patches cut out with a laser. They are exact copies. |
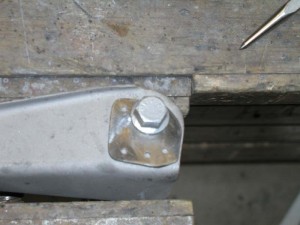 |
The patch has been placed on the arm and the arm bolt has been bolted into place to position the patch for welding |
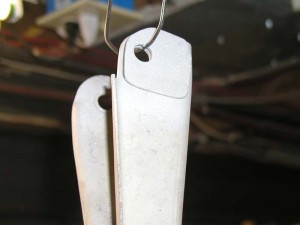 |
The patch has now been spot welded into place, the arm has had the notch, needed for clearance on the 12-bolt rear end casing, ground, and is ready to be powder coated. |
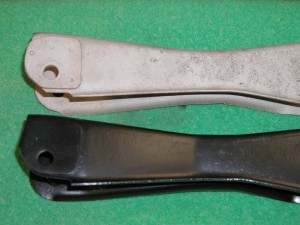 |
Here is the original GM 12 bolt rear upper arm side by side with the converted non 12 bolt rear upper upper arm side by side (the black powder coated arm is the arm that was converted). |
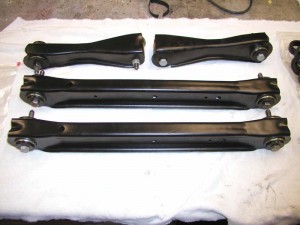 |
This is a set of upper rear control arms that were converted to 12 bolt arms and a set of lower boxed arms that were done for a customer. Bushings have been installed for the price of the bushings, no charge for the install.Are you my next customer? I have a money back guarantee (sorry, does not include shipping) |
