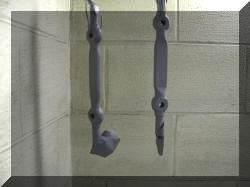
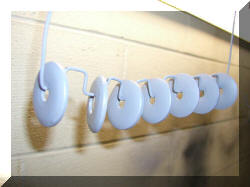
Control Arms Refinishing – Process Step 4

Click picture to see large picture of parts
Text at the Bottom
(Please wait while loading .. large page)

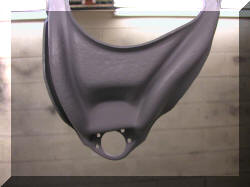
Refinish_Arms_Day_5_0001_small
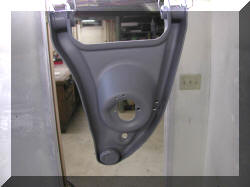
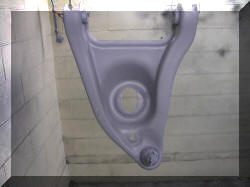
Not bad from this distance but take a look at the next picture which is a close up of the same arm.
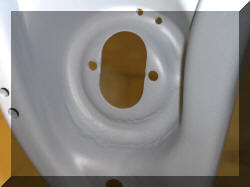
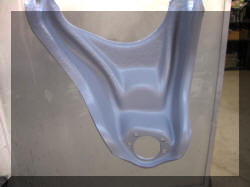
Refinish_Arms_Day_5_0002_small This is a close up of the arm that had some pitting in the spring pocket. This condition was noted on step 2 and the customer was notified.
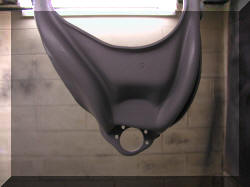
 Refinish_Arms_Day_5_0010_small Back side of the above arm.
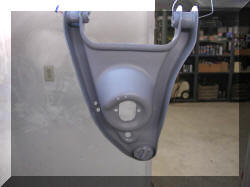
Refinish_Arms_Day_5_0003_small This is a very nice arm. It will turn out near perfect.
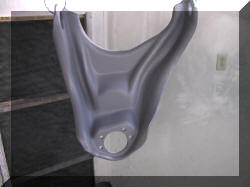
Refinish_Arms_Day_5_0009_small Back side of the above arm.
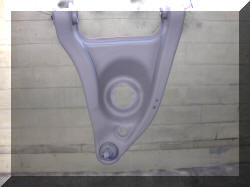
Refinish_Arms_Day_5_0005_small This is the pitted upper arm.
Refinish_Arms_Day_5_0008_small Back side of the pitted arm.
Refinish_Arms_Day_5_0006_small This is a very nice arm. It will turn out near perfect.
Refinish_Arms_Day_5_0007_small Back side of the nice arm..
Refinish_Arms_Day_5_0011_small  Refinish_Arms_Day_5_0012_small

Theses are “C” code arms. If you look at the top of the upper arms you will see the “C” stamped into the arm. If you look at the bottom side of the lower arms, again, you will see the “C” stamped into the arm (this stamp is light, but there). They are interchangeable with all 1964 thru 1972 GM A_Body cars. But are sought after by people that are doing concourse cars.

Again, this complete set of photos were sent to the customer so that he is keep informed of the progress and condition of the arms so that there are no surprises at the end.
Leave a Reply